How to Fix Color Synchronization Errors in Multi Bulb Chandeliers?
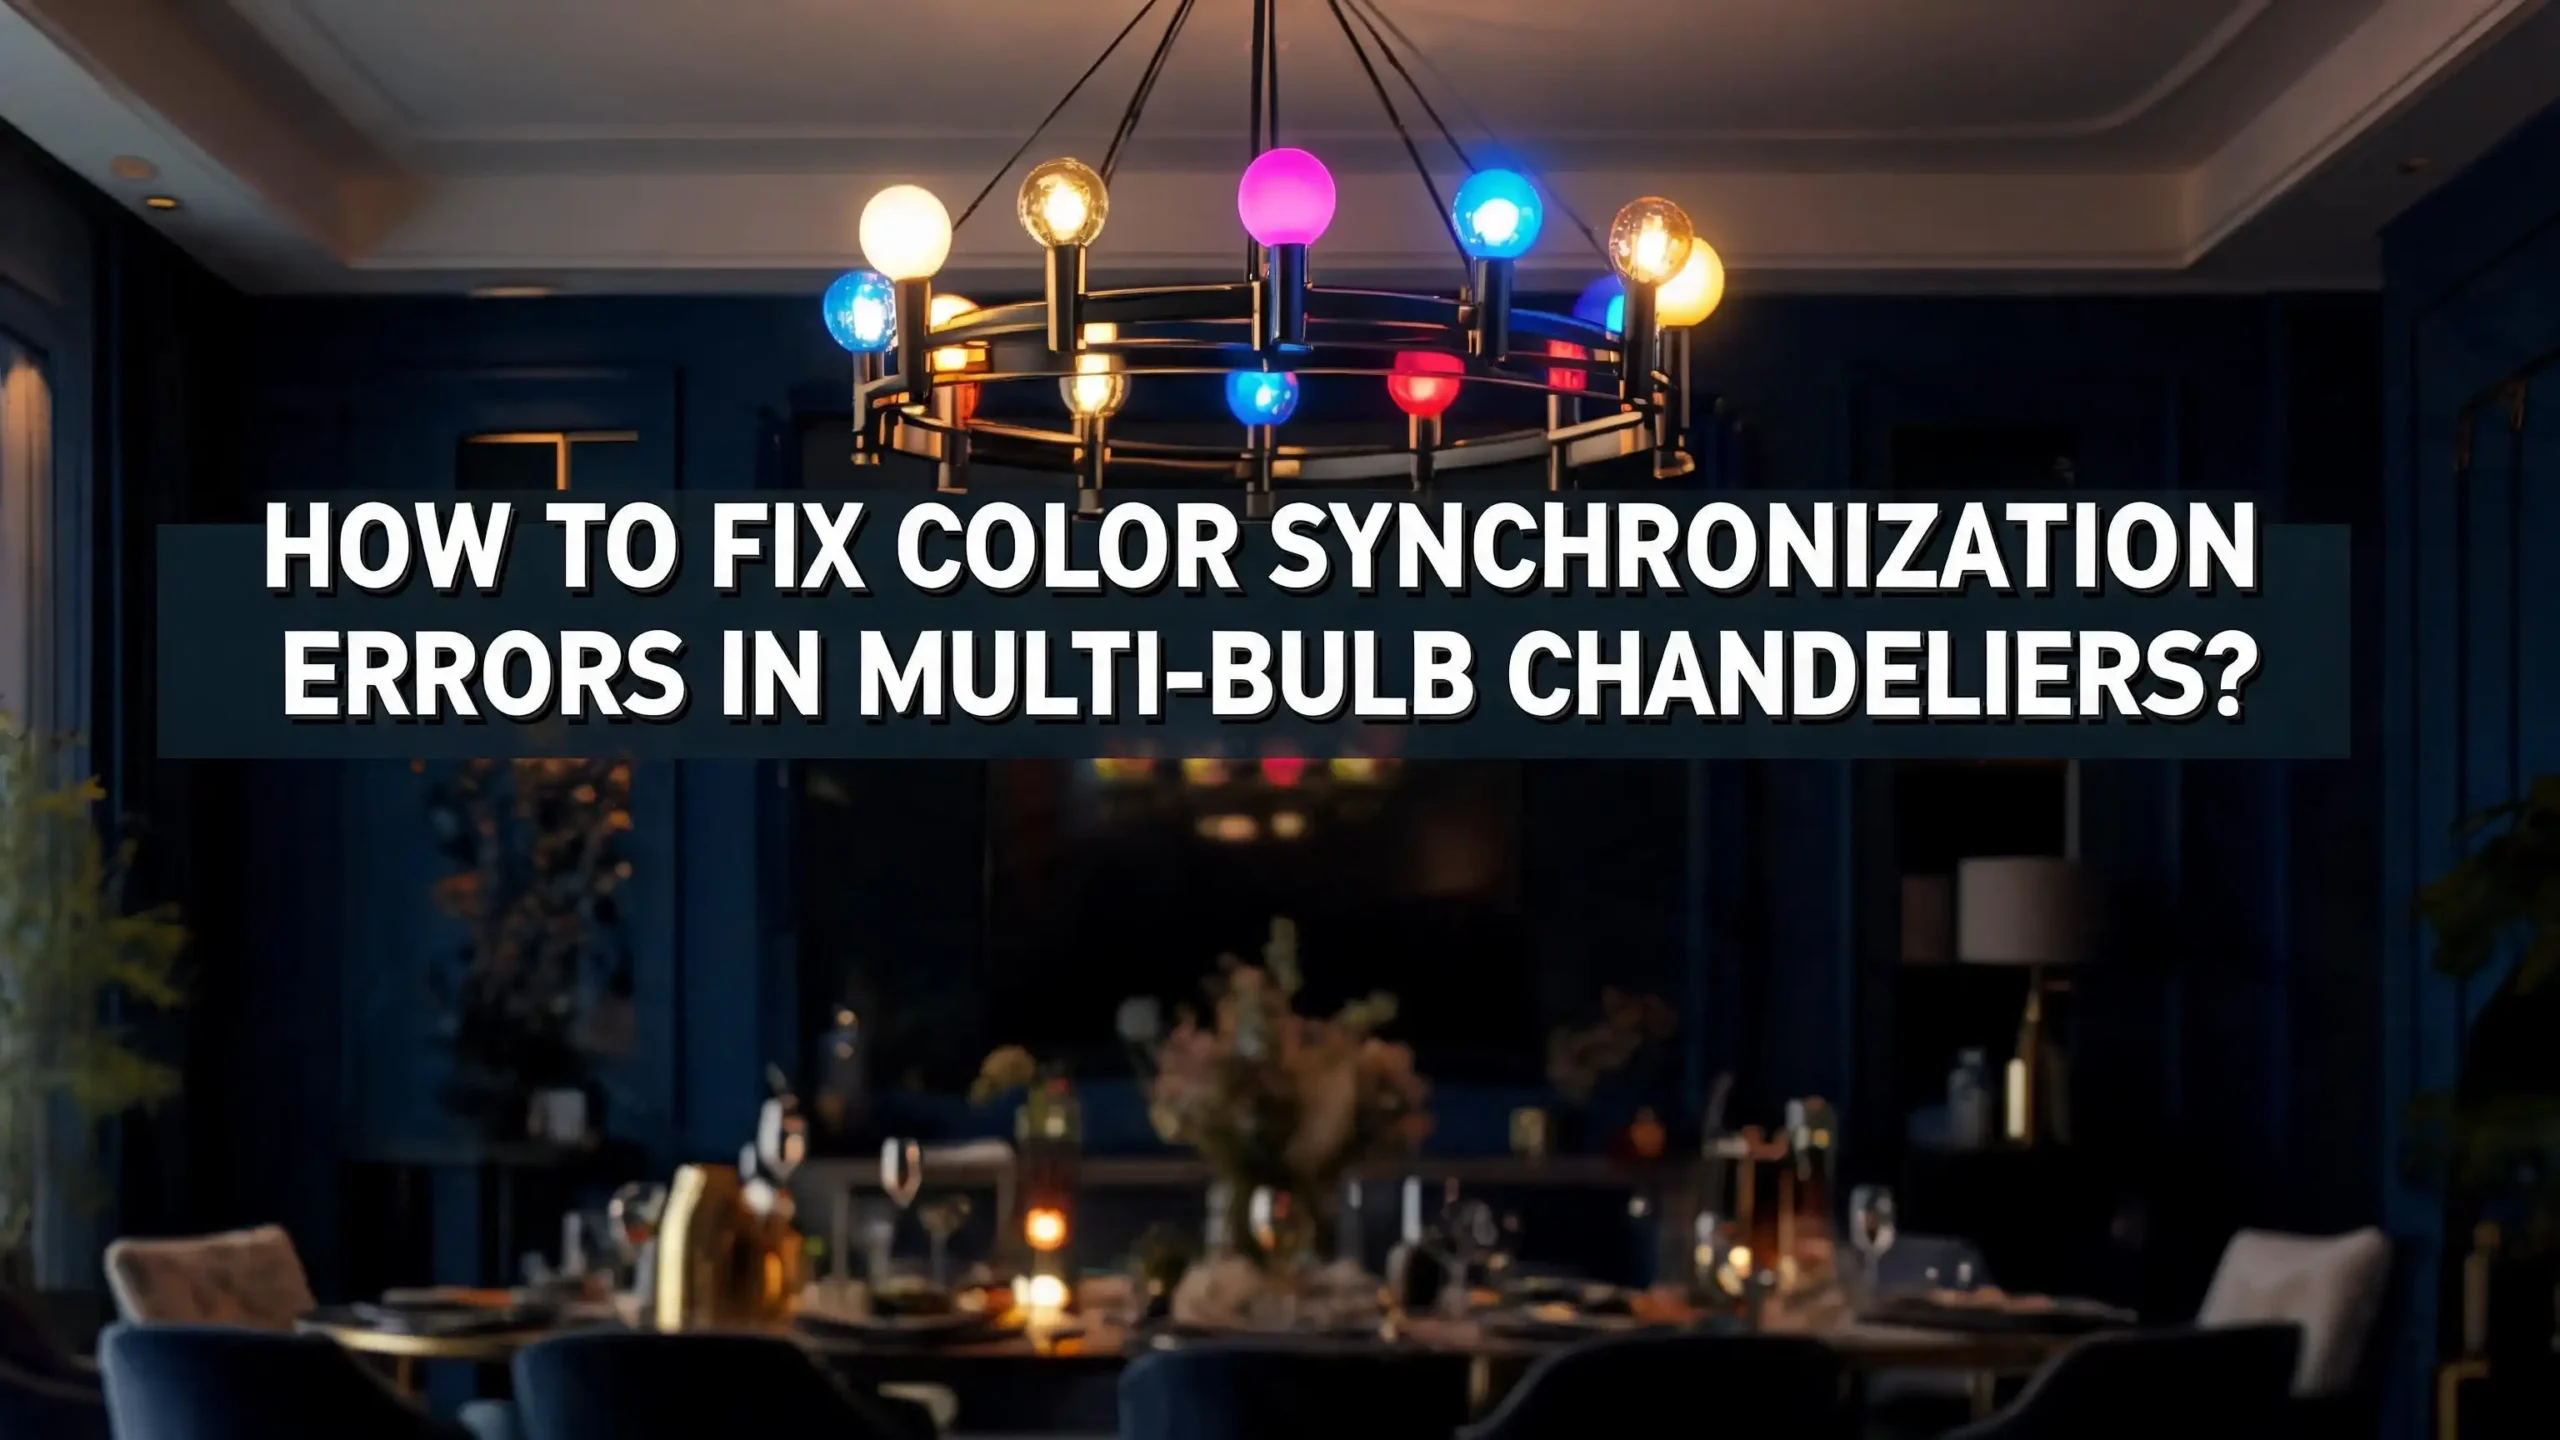
Have you ever looked up at your chandelier and noticed that some bulbs glow warm gold while others look cool blue? Maybe one bulb shifts to green while the rest stay white. Color synchronization errors in multi bulb chandeliers are one of the most frustrating smart lighting problems homeowners face today.
The issue makes your beautiful fixture look mismatched, cheap, and distracting. The good news is that most of these problems have simple fixes. Whether you use smart LED bulbs, RGB color changing bulbs, or standard LEDs, this guide will walk you through every possible cause and solution.
You will learn why your chandelier bulbs display different colors, how to reset and recalibrate them, and how to prevent these errors from happening again. Let’s get your chandelier looking unified and flawless.
Key Takeaways
- Color synchronization errors usually happen because of mismatched bulb brands, different firmware versions, or inconsistent color temperature ratings across bulbs in the same fixture.
- Using one brand and one model for every bulb socket in your chandelier is the single most effective way to prevent color mismatch problems from the start.
- Factory resetting all bulbs at the same time and re-adding them to your smart home app as a group can fix most software related sync issues quickly.
- Firmware updates play a critical role because outdated software on even one bulb can cause it to interpret color commands differently than the rest.
- Color temperature measured in Kelvin varies between manufacturers and even between production batches, so always buy bulbs from the same batch when possible.
- Wi-Fi and Zigbee signal interference between multiple smart bulbs placed close together inside a single chandelier can disrupt communication and cause delayed or incorrect color responses.
Why Do Color Synchronization Errors Happen in Chandeliers
Color synchronization errors occur when two or more bulbs in the same chandelier display different colors or shades despite receiving the same command. This problem is common in fixtures that hold five, six, or even twelve bulbs close together where differences become very obvious.
The root causes fall into a few main categories. Hardware differences between bulbs account for many cases. Even bulbs from the same brand can use slightly different LED chips if they come from different production runs. Each chip may interpret a “warm white” or “ocean blue” command with a small variation.
Software and firmware mismatches create another layer of problems. Smart bulbs run internal software that translates color commands into specific electrical signals. If one bulb runs firmware version 2.1 and another runs version 2.4, they may process the same command differently.
Signal interference also plays a role. A chandelier packs multiple wireless transmitters into a small space. Wi-Fi bulbs operating on the 2.4 GHz band can interfere with each other. Zigbee bulbs can experience similar crowding. This interference causes some bulbs to receive commands late or receive corrupted data.
Check That All Bulbs Are the Same Brand and Model
The simplest and most overlooked fix is making sure every single bulb in your chandelier comes from the same manufacturer and the same product line. Mixing brands is the number one cause of color mismatch in multi bulb fixtures.
Different manufacturers use different LED chip suppliers. A “2700K warm white” from one company can look noticeably different from a “2700K warm white” from another company. The Kelvin rating is a target, not an exact specification. Manufacturing tolerances allow small variations that become very visible when bulbs sit inches apart.
Even within the same brand, different models use different color mixing systems. A premium bulb line may use four color channels (red, green, blue, and white) while a budget line uses only three. This means the same color command produces a visibly different result.
Buy all your chandelier bulbs at the same time from the same batch. Check the packaging for matching lot numbers or date codes. Bulbs manufactured on the same production run will have the closest color consistency. If you need to replace one bulb later, consider replacing all of them to maintain uniformity.
Perform a Factory Reset on All Bulbs Simultaneously
When smart bulbs fall out of sync, a factory reset often brings them back to the same baseline. Resetting all bulbs at the same time ensures they all return to identical default settings before you reconfigure them.
Most smart bulbs reset through a power cycling method. You turn the bulb on for a set number of seconds, then off for a set number of seconds, and repeat this pattern several times. The exact pattern varies by brand. Many bulbs flash or change color briefly to confirm the reset was successful.
After resetting, remove all the bulbs from your smart home app. Then add them back as a fresh group. This eliminates any stored settings or cached data that might cause one bulb to behave differently. Name the group something clear like “Chandelier” so you can control all bulbs with a single command.
Make sure each bulb completes the reset process before moving on. If one bulb does not flash to confirm the reset, repeat the power cycling sequence for that specific bulb. A partially reset bulb will continue to cause sync problems because it retains old configuration data.
Update Firmware on Every Bulb in the Fixture
Outdated firmware is a hidden cause of color synchronization errors. Manufacturers release firmware updates that improve color accuracy, fix bugs in color rendering, and adjust how bulbs respond to group commands. A single bulb running old firmware can throw off the entire chandelier.
Open your bulb manufacturer’s app and check each bulb individually for available updates. Some apps show firmware versions in the device settings page. Compare the version numbers across all your chandelier bulbs. If any bulb shows a different version, update it immediately.
Some firmware updates change how a bulb interprets color values. For example, an update might adjust the internal mapping of RGB values to fix a known color drift issue. If only half your bulbs receive this update, the updated and non-updated bulbs will display colors differently.
Turn off automatic schedules and scenes before updating. Let each bulb complete its update without interruption. Some bulbs restart automatically after updating. Wait at least five minutes after the last bulb finishes before testing color synchronization. This gives the bulbs time to fully initialize their new software.
Match Color Temperature Ratings Across All Bulbs
Color temperature is measured in Kelvin and determines whether light appears warm, neutral, or cool. Even a 200K difference between bulbs creates a visible mismatch that your eyes will notice immediately in a chandelier.
Standard warm white bulbs usually rate at 2700K. Soft white sits around 3000K. Daylight or cool white ranges from 5000K to 6500K. If one bulb in your chandelier outputs 2700K and another outputs 3000K, you will see a clear difference between golden and slightly blueish white tones.
Check the specifications printed on each bulb’s packaging or base. Do not assume that bulbs labeled “warm white” by different manufacturers share the same Kelvin value. One company’s warm white might be 2700K while another’s is 2800K. That small gap becomes obvious in a grouped fixture.
For smart bulbs that allow adjustable color temperature, set every bulb to the exact same Kelvin value manually. Do not rely on scene presets or voice commands that might interpret “warm” differently for each bulb. Open the app, select each bulb, and type in or slide to the precise number. Then save this setting as a custom scene for consistent future use.
Address Wi-Fi and Zigbee Signal Interference
A chandelier with six or more smart bulbs packs multiple wireless radios into a very small area. This density creates signal interference that causes delayed, dropped, or corrupted color commands. One bulb might change color instantly while another takes two seconds longer, creating a visible mismatch.
Wi-Fi smart bulbs operate on the 2.4 GHz frequency band. This band is already crowded with routers, phones, tablets, and other smart home devices. Adding multiple bulbs to one fixture increases that congestion further. Bulbs may compete with each other for bandwidth, causing some to miss commands entirely.
Zigbee and Bluetooth bulbs face similar issues at close range. The mesh network design of Zigbee helps with range but does not eliminate interference when devices are only inches apart.
Move your Wi-Fi router closer to the chandelier or add a Wi-Fi extender nearby. A stronger signal helps all bulbs receive commands at the same time. For Zigbee setups, make sure your hub is within 30 feet of the chandelier. Reduce the number of other 2.4 GHz devices operating near the fixture. You can also try switching your router’s 2.4 GHz channel to reduce overlap with the bulbs’ signals.
Use a Dedicated Smart Home Hub for Better Control
Controlling smart bulbs directly through Wi-Fi puts all the processing burden on your router. A dedicated smart home hub provides faster, more reliable communication between your app and each bulb in the chandelier.
Hubs from platforms like Zigbee based systems (Philips Hue Bridge, IKEA DIRIGERA) or Z-Wave controllers send commands through a separate wireless protocol. This avoids the congestion on your home Wi-Fi network. The hub sends synchronized commands to all grouped bulbs at once, reducing the delay between individual bulb responses.
When you group bulbs on a hub, the hub treats them as a single unit for color commands. It sends the color change instruction to all bulbs in one broadcast rather than sending individual messages to each bulb one at a time. This simultaneous delivery dramatically improves color synchronization.
If you already own a hub, make sure all chandelier bulbs connect through it rather than through separate Wi-Fi connections. Remove any bulbs from Wi-Fi control and pair them exclusively with the hub. Mixed control methods (some bulbs on Wi-Fi, some on Zigbee) create inconsistency because the two systems process commands at different speeds.
Calibrate Individual Bulbs Within the Group
Even with identical bulbs and updated firmware, you may notice small color variations. This happens because of manufacturing tolerances in LED chips. Manual calibration lets you adjust individual bulbs to match the rest of the group visually.
Open your smart home app and select the chandelier group. Set a specific color or white tone that you want all bulbs to display. Then look at the chandelier and identify any bulbs that appear slightly off. Select those bulbs individually in the app.
Adjust the brightness first. A bulb that is slightly brighter or dimmer than the others can trick your eyes into seeing a color difference when the color itself is actually correct. Match brightness levels across all bulbs before touching color settings.
Then fine tune the color temperature or hue for the out of sync bulbs. Move the color slider by small amounts until that bulb matches its neighbors visually. Save these individual adjustments so the app remembers them. Some apps let you save per bulb offsets within a group, which means the adjustment applies automatically every time you activate a scene. This process takes patience but delivers a perfectly matched chandelier.
Inspect the Chandelier’s Electrical Wiring
Electrical issues inside the chandelier itself can cause color problems, especially in older fixtures. Loose connections, corroded wires, or uneven voltage distribution across sockets can make bulbs behave differently even when they are identical.
Turn off power to the chandelier at the circuit breaker before inspecting any wiring. Check each bulb socket for signs of corrosion, scorching, or loose wire connections. A socket that delivers slightly less voltage than the others can cause the bulb in that position to display dimmer or shifted colors.
Voltage drop is a common problem in chandeliers that daisy chain multiple sockets on a single wire run. The bulbs closest to the power input receive full voltage while the bulbs at the end of the chain receive slightly less. This small voltage difference can affect LED color output.
If you find any loose connections, tighten them securely. Replace any corroded sockets. If the chandelier uses thin gauge wiring that cannot handle the combined load, consider having an electrician rewire the fixture with heavier gauge wire. Consistent voltage delivery to every socket is essential for uniform color output across all bulbs.
Avoid Using Dimmer Switches Not Rated for LEDs
An incompatible dimmer switch can cause erratic behavior across all bulbs in a chandelier. Old dimmer switches designed for incandescent bulbs often create flickering, buzzing, and inconsistent color output with LED bulbs.
Traditional dimmers work by cutting the electrical waveform to reduce brightness. LEDs require a steady, clean electrical signal to display colors accurately. When an old dimmer chops the signal, different bulbs may react differently based on their internal driver circuits. One bulb might flicker while another dims unevenly, and another might shift in color tone.
Replace any old dimmer switch with a model specifically rated for LED use. LED compatible dimmers use methods like Pulse Width Modulation (PWM) to adjust brightness without distorting the power signal. This keeps the electrical input clean and consistent for every bulb in the chandelier.
Check the dimmer’s maximum wattage rating too. A multi bulb chandelier can exceed a low rated dimmer’s capacity. If your chandelier holds eight 10 watt LED bulbs, you need a dimmer rated for at least 80 watts of LED load. An overloaded dimmer creates unstable power delivery that directly causes color sync problems.
Set Up Proper Grouping and Scenes in Your App
How you organize your bulbs in your smart home app directly affects synchronization quality. Proper grouping ensures that all chandelier bulbs receive the same command at the same time rather than receiving individual commands in sequence.
Create a single group in your app that contains only the chandelier bulbs. Do not mix chandelier bulbs with bulbs from other fixtures in the same group. When you change the color of a mixed group, the app sends commands to all devices in the group, and network delays between bulbs in different locations can cause timing issues.
Build custom scenes specifically for your chandelier. A scene saves exact color values, brightness levels, and any individual bulb offsets into one preset. When you activate the scene, the app sends all those specific values at once. This produces much more consistent results than manually adjusting the group’s color each time.
Test each scene after creating it. Activate the scene and watch all bulbs carefully. If any bulb lags or displays the wrong color, remove it from the group, reset it, add it back, and test again. Save the working scene and use it as your default. Reliable scenes eliminate the daily hassle of manually matching bulb colors.
Understand the Role of Color Rendering Index
The Color Rendering Index (CRI) measures how accurately a light source shows colors compared to natural sunlight. Bulbs with different CRI values will render the same room and objects with different apparent color tones, which can make identical white light look mismatched.
CRI is rated on a scale from 0 to 100. A score of 90 or above is considered excellent. Most quality LED bulbs score between 80 and 95. If one bulb in your chandelier has a CRI of 82 and another has a CRI of 92, objects in the room may appear slightly different under each bulb’s light even though both bulbs technically produce the same color temperature.
This matters most for white light settings. Two bulbs set to 3000K with different CRI ratings will make skin tones, furniture, and wall paint look subtly different under each light cone. In a chandelier where all the light cones overlap, this creates an uneven visual effect.
Check the CRI rating on your bulb packaging and match it across all bulbs in the chandelier. Aim for a CRI of 90 or higher for the best color consistency. Avoid mixing bulbs from budget and premium product lines in the same fixture because budget bulbs often have lower CRI ratings even if the Kelvin temperature matches.
When to Replace All Bulbs at Once
Sometimes individual fixes cannot solve persistent color synchronization problems. If your chandelier bulbs are more than three years old or come from discontinued product lines, a full replacement may be the most practical solution.
LED bulbs degrade over time. Their color output shifts gradually as the phosphor coating on the LED chips ages. One bulb may shift faster than another based on its operating hours and heat exposure. After several years, bulbs purchased at the same time from the same batch may no longer match each other due to uneven aging.
Discontinued bulbs present a different challenge. If one bulb fails and the model is no longer available, the replacement bulb from a different model or brand will almost certainly look different. You end up with a permanent mismatch that no amount of calibration can fully fix.
When you replace, buy all new bulbs at once from the same brand, same model, and same production batch. Keep one or two extras in storage for future replacements. Label the batch number and purchase date on the spares so you can verify they match when you need them. This approach gives you the longest possible period of consistent color synchronization from your chandelier.
Frequently Asked Questions
Why do my chandelier bulbs show different shades of white?
Different shades of white usually result from mismatched color temperatures measured in Kelvin. One bulb might output 2700K (warm golden white) while another outputs 3000K (neutral white). Even small Kelvin differences become visible when bulbs are close together. Always verify that every bulb shares the same Kelvin rating by checking the packaging or app settings.
Can I mix smart bulb brands in one chandelier?
Mixing brands is technically possible, but it almost always produces color inconsistency. Different brands use different LED chips, firmware, and color mixing algorithms. A “blue” command produces a slightly different shade on each brand’s bulbs. For the best results, use one brand and one model for all sockets in a single fixture.
How do I reset smart bulbs that are out of sync?
Most smart bulbs reset through a power cycling method. Turn the bulb on for about one second, off for one second, and repeat this five to ten times depending on the brand. The bulb flashes or changes color to confirm the reset. After resetting, remove all bulbs from your app and re-add them as a new group to eliminate old cached settings.
Will a firmware update fix color mismatch problems?
Firmware updates frequently fix color accuracy issues and improve how bulbs respond to group commands. Check your manufacturer’s app for available updates on each bulb individually. If some bulbs run newer firmware than others, the version difference alone can cause visible color variations across your chandelier.
How does Wi-Fi interference affect chandelier bulb colors?
Multiple Wi-Fi smart bulbs in close proximity compete for bandwidth on the 2.4 GHz band. This causes some bulbs to receive color commands later than others or miss commands entirely. Strengthening your Wi-Fi signal near the chandelier and reducing nearby device congestion helps all bulbs receive and execute commands at the same time for synchronized color output.
Should I use a hub instead of Wi-Fi for chandelier bulbs?
A dedicated smart home hub provides faster and more consistent communication than Wi-Fi alone. The hub broadcasts commands to all grouped bulbs simultaneously rather than sending individual Wi-Fi packets. This reduces timing delays between bulbs and improves color synchronization significantly, especially in chandeliers with six or more bulbs.