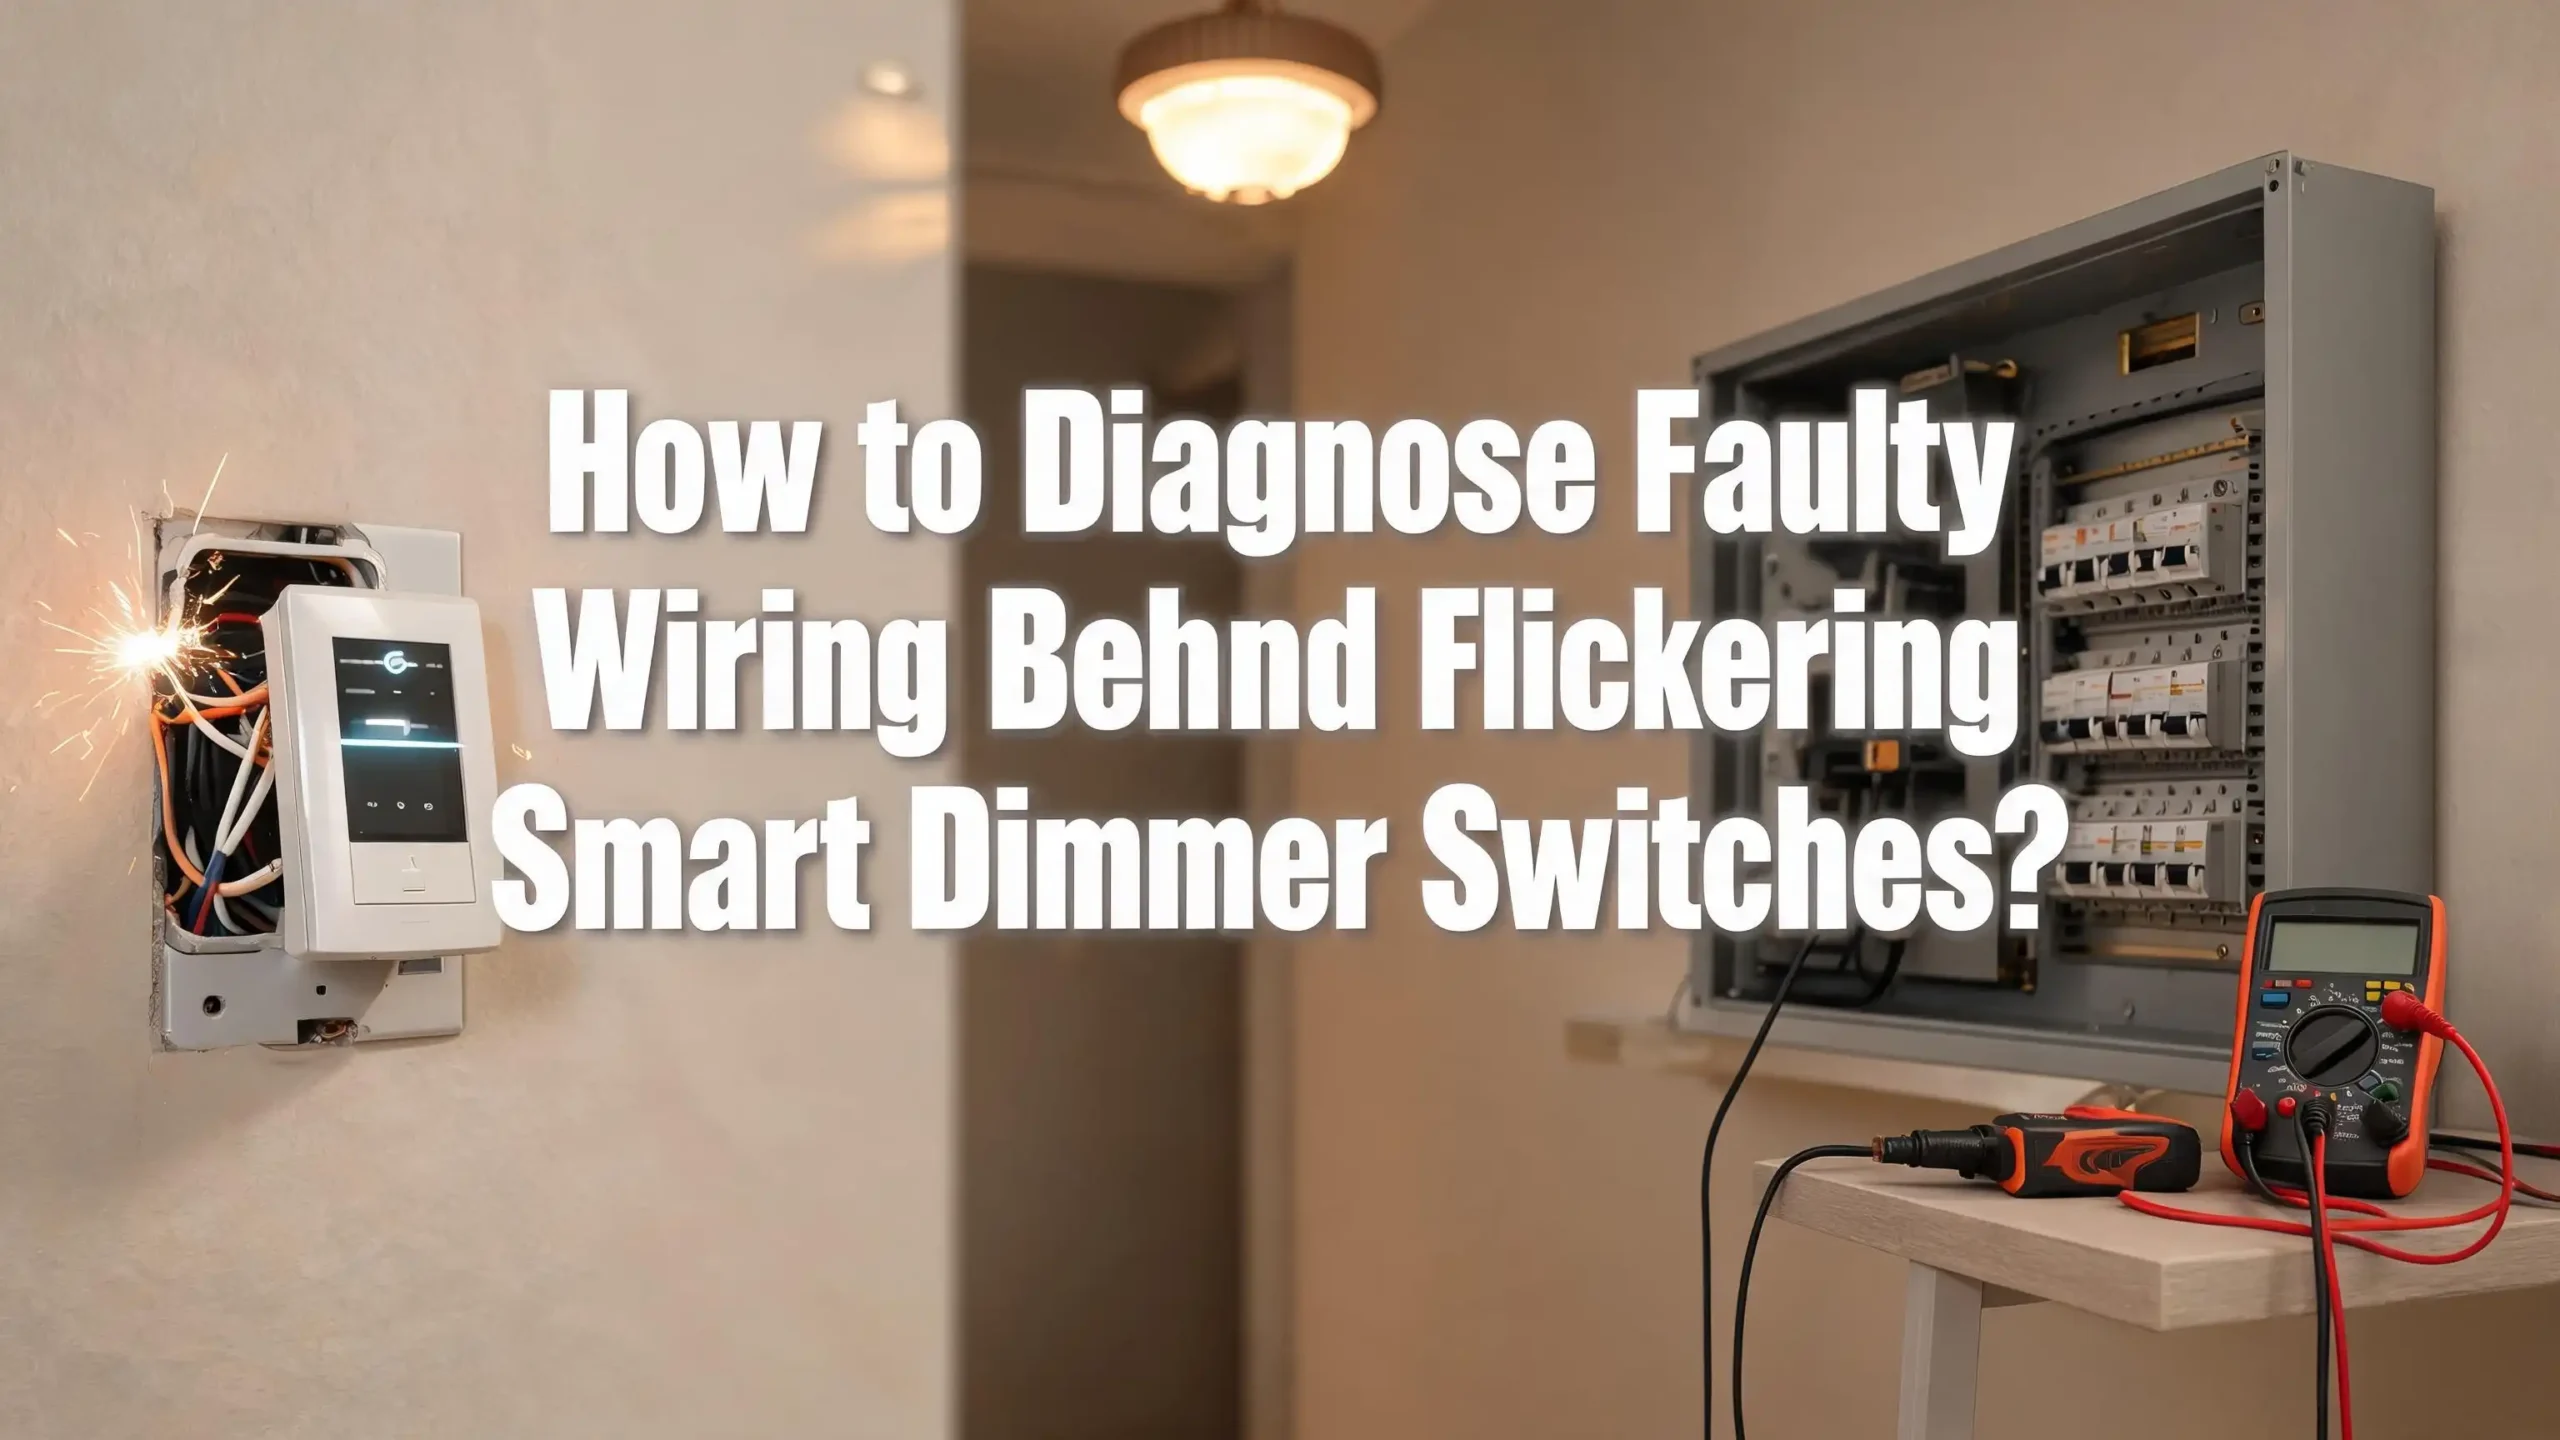
How to Diagnose Faulty Wiring Behind Flickering Smart Dimmer Switches?
Have you ever walked into a room, turned on your smart dimmer switch, and watched your lights flutter like a candle in a storm? It is frustrating, confusing, and honestly a little unsettling. Flickering lights on a smart dimmer switch are not just an annoyance. They are often a signal that something is wrong with the wiring behind the switch.
The good news is that most flickering problems have a clear cause and a straightforward fix. You do not need to be a licensed electrician to understand what is happening. You just need the right information, the right tools, and the confidence to work safely.
This post breaks down every possible cause of faulty wiring behind flickering smart dimmer switches. It gives you practical, step-by-step guidance to find the problem and fix it the right way. Keep reading because the answer to your flickering nightmare is closer than you think.
Key Takeaways
- Flickering smart dimmer switches are almost always caused by a wiring problem, a compatibility issue, or a combination of both. Understanding the root cause is the first step toward a permanent fix.
- A missing or improperly connected neutral wire is one of the most common causes of flickering in smart dimmer switches. Modern smart dimmers require a neutral wire to power their electronics, and without it, the switch bleeds power through the bulb, causing flicker.
- Loose wire connections at the terminal screws inside the switch box are a major cause of intermittent flickering. Over time, wires can loosen due to heat cycles, vibration, or improper installation, creating inconsistent electrical contact.
- Incompatible LED bulbs paired with a smart dimmer switch can cause persistent flickering even when the wiring is technically correct. Not all LED bulbs are rated for dimmer use, and using the wrong bulb type will always result in flicker.
- Ghost voltage or stray voltage on the circuit can fool your dimmer switch and cause phantom flickering. A multimeter can help you detect this invisible culprit quickly and accurately.
- Safety must come first before any wiring diagnosis. Always turn off the circuit breaker, use a non-contact voltage tester to confirm the power is off, and work with dry hands and insulated tools before touching any wires inside the switch box.
Understanding Why Smart Dimmer Switches Flicker in the First Place
Before you touch a single wire, you need to understand why smart dimmer switches flicker. A smart dimmer switch is not a simple on/off toggle. It contains internal electronics that require a constant, stable power supply to function. These electronics control the wireless radio (Wi-Fi, Zigbee, or Z-Wave), the LED indicator light, and the dimming circuitry all at the same time.
When the wiring behind the switch is faulty or incomplete, those internal electronics do not get the clean power they need. The result is an unstable voltage supply that causes the connected light bulb to flicker, buzz, or flash randomly. In many cases, the flickering gets worse at lower dim levels because that is when the dimmer’s electronics are working hardest to regulate the power output.
The most important thing to remember is that flickering is a symptom, not the problem itself. The wiring behind the switch is the actual source of the issue. Fixing the symptom without diagnosing the cause will only lead to the problem returning later. Smart dimmers are more sensitive to wiring quality than traditional mechanical switches, which is why even a small wiring imperfection can produce noticeable flickering.
Safety First: What You Must Do Before Opening the Switch Box
Working with electrical wiring requires strict safety habits. You must never open a switch box while the power is live. Even experienced DIYers make this mistake, and the consequences can be severe. Before you do anything else, go to your electrical panel and locate the circuit breaker that controls the room where the dimmer switch is installed.
Flip that breaker to the OFF position. Then go back to the switch and test it. If the light does not turn on, the circuit is de-energized. However, do not rely on this test alone. Use a non-contact voltage tester (sometimes called a tick tracer) by holding it near the switch plate. If the tester beeps or lights up, power is still present on the circuit. Go back to the panel and check again.
Always test twice. Some homes have multiple circuits running through the same box, and turning off one breaker may not cut power to all the wires in the box. Once you confirm no voltage is present, use a flathead screwdriver to remove the switch plate and a Phillips screwdriver to loosen the switch from the electrical box. Work slowly, handle wires gently, and never touch two wires at the same time.
Checking for Loose Wire Connections at the Terminal Screws
Loose wire connections are the single most common cause of flickering in smart dimmer switches. Over months and years of use, the constant heating and cooling of electrical wires causes them to expand and contract. This repeated movement gradually loosens the connections at the terminal screws on the back of the switch, creating intermittent electrical contact.
When you pull the dimmer switch out of the box, look carefully at each terminal screw. Each wire should be firmly clamped under its screw with no visible gap between the wire and the screw head. If any wire looks loose, slightly pulled out, or if the screw turns easily without resistance, that connection needs to be tightened or remade.
Here is how to fix it properly. First, loosen the terminal screw completely. Pull the wire out and use wire strippers to remove about 3/4 of an inch of insulation from the end of the wire to expose fresh copper. Look at the copper end. Fresh copper should be bright and shiny. If it looks dark or corroded, cut a bit more of the wire back until you reach clean copper. Then form the wire end into a small hook shape, wrap it clockwise around the terminal screw, and tighten the screw firmly. A tight, clean connection eliminates one of the most common causes of flicker instantly.
Identifying a Missing or Incorrectly Connected Neutral Wire
The neutral wire issue is the defining wiring problem for smart dimmer switches. Traditional dimmer switches only need two wires to operate: a line (hot) wire and a load wire. However, smart dimmer switches need a third wire, the neutral wire, to power their built-in electronics continuously.
Without a neutral wire, the smart dimmer draws a tiny amount of current through the bulb to keep itself powered, even when the light is “off.” This residual current causes ghost flickering, glowing bulbs that never fully turn off, and erratic dimming behavior. In older homes, the neutral wire may not have been run to the switch box, leaving only the hot and load wires available.
To check for a neutral wire, look inside the switch box after removing the switch. The neutral wire in most US homes is white. If you see a white wire connected to the switch, a neutral is present. If the only wires are a black wire (hot), a different colored wire (load), and possibly a bare copper or green wire (ground), your switch box has no neutral.
If there is no neutral wire in your switch box, you have two options. You can use a smart dimmer that is specifically designed to work without a neutral wire (sometimes called a “no-neutral” smart dimmer), or you can have an electrician run a neutral wire to the box. Using a standard smart dimmer without a neutral wire will almost always cause flickering. Make sure the dimmer you install matches the wiring configuration in your home.
Testing Wire Connections with a Multimeter
A multimeter is one of the most useful tools you can own for diagnosing wiring problems behind a smart dimmer switch. It lets you measure voltage, check for continuity, and detect problems that are invisible to the naked eye. You do not need to be a professional to use one effectively for this type of diagnosis.
To test the line voltage coming into the switch box, set your multimeter to AC voltage and select a range above 120 volts (typically 200V on most meters). Turn the circuit breaker back ON carefully, and without touching any bare wires, use the multimeter probes to measure the voltage between the black (hot) wire and the white (neutral) wire. You should read between 115V and 125V. A reading significantly below 115V or an unstable, jumping reading indicates a voltage supply problem upstream in the circuit.
Next, check the voltage between the load wire and the neutral wire with the switch in the ON position. This reading should be close to the line voltage reading. A large difference between the two readings suggests resistance or a bad connection somewhere in the circuit path.
Always switch the breaker back OFF before touching or reconnecting any wires. If your multimeter readings are jumping erratically, that is a strong sign of a loose connection or a damaged wire somewhere in the circuit.
Diagnosing Ground Wire Problems and Their Role in Flickering
The ground wire is often overlooked during a dimmer switch diagnosis, but a missing or improperly connected ground wire can absolutely contribute to flickering in smart dimmer switches.
Most modern smart dimmers require a ground wire to function correctly. The ground wire serves as a safety path for fault current and also helps the dimmer’s internal electronics maintain a stable voltage reference.
In most homes, the ground wire is bare copper or covered in green insulation. Look inside the switch box for this wire. It should be connected firmly to the green screw on the smart dimmer switch.
If the ground wire is present but not connected to the switch, connect it. If the ground wire is missing entirely from the box, that is a code violation in modern homes and should be corrected by an electrician.
A floating ground or an improperly bonded ground can cause stray voltage to appear on the circuit, which the smart dimmer’s electronics can misinterpret as a signal. This leads to random flickering or lights that turn on and off by themselves. Tightening or connecting the ground wire is a simple fix that takes less than a minute and can resolve otherwise unexplained flickering issues immediately.
Spotting and Fixing Ghost Voltage Behind the Switch
Ghost voltage (also called phantom voltage or stray voltage) is a real but poorly understood problem that affects smart dimmer switches. Ghost voltage occurs when a de-energized wire picks up voltage from an adjacent energized wire through electromagnetic induction. It shows up on a multimeter as a voltage reading even though the circuit is supposed to be off.
Ghost voltage does not usually cause flickering on its own, but it can confuse the electronics inside a smart dimmer switch. The switch’s internal circuitry detects this stray voltage and interprets it as a command to activate or modulate the light output, which produces the flickering effect you see.
To test for ghost voltage, use your multimeter on the AC voltage setting. With the smart dimmer switch turned OFF, measure the voltage across the load wire and neutral wire. A healthy circuit should read zero volts or very close to it. If you read any significant voltage (more than 1 to 2 volts), ghost voltage is likely present.
The most effective fix is to ensure that all wire connections in the box and in any junction boxes on the same circuit are tight and properly insulated. In some cases, adding a resistive bypass device (a small resistor-based accessory made for dimmer circuits) between the load wire and neutral wire will absorb the ghost voltage and stop the flickering.
Understanding the Role of Wire Gauge in Dimmer Switch Performance
Wire gauge is a detail that most homeowners never think about, but it plays a role in the reliability of smart dimmer switch wiring. Electrical wire gauge refers to the thickness of the wire, and thinner wires have higher resistance. In a dimmer circuit, high resistance in the wiring means more voltage drop, which translates directly into flickering.
In US homes, most standard 15-amp circuits use 14-gauge wire, and 20-amp circuits use 12-gauge wire. If a previous homeowner or installer used a wire that is too thin for the load on the circuit, the increased resistance can cause the smart dimmer to receive less stable voltage than it needs. This is especially noticeable when multiple lights are on the same dimmer circuit.
Check the wire gauge in your switch box by looking at the label printed on the wire’s outer insulation. It will list the gauge as AWG followed by a number (such as AWG 14 or AWG 12). If the wire gauge is mismatched with the circuit’s amperage rating, call an electrician.
Mixing wire gauges on a single circuit is a fire hazard and a code violation, and it will also produce unreliable dimmer performance.
Diagnosing Problems in 3-Way Smart Dimmer Switch Wiring
Three-way smart dimmer switch setups (where two switches control the same light from different locations) introduce an additional layer of wiring complexity. In a 3-way configuration, the smart dimmer requires correct traveler wire connections to communicate with the companion switch.
If the traveler wires are reversed or incorrectly connected, the result is often flickering, random switching, or a light that only works from one switch location.
Pull both switches out of their boxes and inspect the wiring carefully. In a smart 3-way setup, one switch is the “master” dimmer and the other is a “remote” or “accessory” switch. The traveler wires (usually red and black in a 3-wire cable) must go to the correct terminals on each switch. Reversing the travelers or connecting them to the wrong terminals creates an unstable circuit that the smart dimmer cannot handle cleanly.
Read the wiring diagram that came with your smart dimmer carefully. Most manufacturers include both single-pole and 3-way wiring diagrams in the box. If you no longer have the instructions, search for the model number on the manufacturer’s website to download the correct wiring diagram.
Rewiring a 3-way smart dimmer circuit correctly, following the exact manufacturer diagram, resolves the majority of 3-way flickering issues without any additional troubleshooting needed.
Checking for Overloaded Circuits Causing Voltage Instability
An overloaded circuit is another cause of flickering that originates behind the smart dimmer switch. When too many devices or light fixtures share the same circuit, the total current draw approaches or exceeds the circuit’s rated capacity. This causes the voltage on the circuit to drop and fluctuate, and your smart dimmer switch picks up that instability and translates it into flickering.
To check if your circuit is overloaded, add up the wattage of all devices and lights connected to the same breaker. For a 15-amp circuit at 120 volts, the safe maximum continuous load is about 1440 watts (80% of 1800 watts). For a 20-amp circuit, the safe continuous load is about 1920 watts. If the total wattage of everything on the circuit exceeds these numbers, the circuit is overloaded.
The fix is to redistribute the load. Move some devices to a different circuit, or have an electrician add a new circuit to handle the load. Do not simply upgrade to a higher-amperage breaker without also upgrading the wire gauge, as this creates a fire hazard. Reducing the load on the circuit is often enough to stabilize the voltage and eliminate the flickering entirely.
How LED Bulb Incompatibility Makes Wiring Problems Worse
Even when your wiring is perfectly correct, using the wrong type of LED bulb with a smart dimmer switch will cause flickering. Not all LED bulbs are designed to work with dimmer switches. A standard (non-dimmable) LED bulb connected to a smart dimmer switch will flicker, buzz, or even fail prematurely because its internal driver is not designed to handle the modulated power output of a dimmer.
Always check the bulb packaging before installing LEDs on a dimmer circuit. Look for the words “dimmable” clearly printed on the box. A dimmable LED bulb contains a driver circuit that is designed to accept the pulsed power signal from a dimmer switch and convert it smoothly into variable light output. Non-dimmable LEDs lack this driver and will react to the pulsed signal by flickering visibly.
Beyond just the “dimmable” label, some LED bulbs are compatible with specific types of dimmers only. Most smart dimmers use a TRIAC-based or electronic low-voltage (ELV) dimming method. Check your smart dimmer’s published compatibility list, available on the manufacturer’s website. Choosing a bulb that is specifically listed as compatible with your smart dimmer model eliminates bulb-related flickering completely and is one of the fastest solutions available when the wiring checks out correctly.
How to Properly Reconnect and Reinstall the Smart Dimmer Switch
After diagnosing and fixing the wiring problem, reinstalling the smart dimmer switch correctly is just as important as the diagnosis itself. A poorly reinstalled switch can undo all your repair work within days. Start by organizing the wires so that none of them are crossed or pressed against each other in the box.
Connect each wire to the correct terminal on the smart dimmer switch using the manufacturer’s wiring diagram as your guide. Start with the ground wire (green screw), then connect the neutral wire (white, if present), then the line wire (hot, typically black), and finally the load wire (the wire going to the light fixture). Tighten each terminal screw firmly but do not overtighten, as that can damage the wire or break the screw.
Once all wires are connected, gently fold the wires into the electrical box in a neat Z-fold pattern. This fold prevents wires from being pinched or damaged when you push the switch into the box. Push the switch in carefully, align the mounting screws with the box holes, and tighten them until the switch sits flush.
Attach the cover plate, turn the circuit breaker back on, and test the switch through its full range of dimming from 0% to 100%. A smooth, flicker-free response from top to bottom confirms a successful repair.
When to Call a Licensed Electrician
Some wiring problems behind a smart dimmer switch go beyond what a confident DIYer should handle alone. You should call a licensed electrician if you find burned, melted, or discolored wires inside the switch box. Burn marks or melted insulation indicate that the wire has been overheating, which is a serious fire hazard that requires professional attention immediately.
You should also call an electrician if you find aluminum wiring in the box. Aluminum wiring is common in homes built between the 1960s and 1970s, and it requires special connectors and handling procedures that are different from copper wiring. Smart dimmers are not designed for direct connection to aluminum wiring, and attempting to connect them without the proper anti-oxidant compound and connectors can create a dangerous situation.
Additionally, if you have completed all the diagnostic steps in this guide and the flickering persists, there may be a wiring fault deeper in the wall or at the electrical panel that you cannot access without professional tools. An electrician can use advanced equipment to trace faults through walls and identify problems at the panel level. The cost of a professional diagnosis is always less than the cost of repairing damage caused by an ignored wiring problem.
Preventing Future Flickering with Proper Smart Dimmer Maintenance
Once you have fixed the flickering problem, a few simple habits will keep your smart dimmer switch working reliably for years. Inspect your dimmer switch connections once every two to three years as part of regular home maintenance. Connection screws can loosen over time even on a well-installed switch, and catching this early prevents a new flickering problem from developing.
Keep the software (firmware) on your smart dimmer switch updated. Manufacturers regularly release firmware updates that improve dimming performance and fix compatibility bugs with newer LED bulbs. Most smart dimmer apps (such as those for Lutron Caseta, Leviton Decora, or Kasa Smart) will notify you when an update is available.
Avoid overloading the dimmer switch with more wattage than its rated capacity. Every smart dimmer has a maximum wattage rating printed on the box and in the manual. Stay below 80% of that rated maximum to keep the switch running cool and to extend its lifespan. A cool, properly loaded dimmer switch rarely causes flickering problems and will serve you reliably for many years without issues.
FAQs
Why does my smart dimmer switch flicker only at low dim levels?
Flickering at low dim levels is very common and usually caused by the dimmer’s minimum load setting or LED bulb incompatibility. Most smart dimmers have an adjustable low-end trim setting in their app or on the physical switch. Raising the minimum dim level slightly often stops the flickering immediately. If that does not work, check that your LED bulbs are rated as dimmable and are compatible with your specific dimmer model.
Can a smart dimmer switch work without a neutral wire?
Some smart dimmers are specifically designed to work without a neutral wire, often labeled as “no-neutral” compatible on the packaging. However, standard smart dimmers require a neutral wire. Using a standard smart dimmer without a neutral wire will almost always cause flickering, ghost glowing, or erratic behavior. Always check the dimmer’s requirements before purchasing and installing.
How do I know if my dimmer switch wiring is the cause of the flickering and not the bulb?
Test this by temporarily replacing the LED bulb with a known-good incandescent bulb rated for dimmer use. If the flickering stops with the incandescent bulb, the problem is LED bulb incompatibility. If the flickering continues with the incandescent bulb, the cause is in the wiring or the dimmer switch itself. This simple swap test helps you isolate the problem quickly.
Is flickering on a smart dimmer switch dangerous?
Occasional, mild flickering caused by bulb incompatibility is generally not dangerous. However, flickering caused by loose connections, damaged wires, or an overloaded circuit is a serious safety concern. Loose connections generate heat, and over time that heat can cause insulation to melt or ignite nearby materials. If your flickering is accompanied by a burning smell, buzzing from the switch box, or a warm switch plate, turn off the breaker immediately and call an electrician.
What is ghost voltage and how does it cause flickering in a smart dimmer?
Ghost voltage is a small, stray AC voltage that appears on a wire that should be de-energized. It is caused by electromagnetic induction from adjacent live wires running through the same conduit or cable bundle. Smart dimmer switches are sensitive enough to detect this stray voltage, and their internal electronics can respond to it by partially activating the dimmer circuit, which causes flickering. A resistive bypass device or properly tightened, fully insulated connections in the circuit typically eliminate ghost voltage issues.
How often should I check the wiring behind my smart dimmer switch?
A visual inspection of the wiring connections every two to three years is a good practice for any homeowner. If you notice flickering starting up again, inspect the connections immediately rather than waiting. High-use switches (those toggled many times per day) should be checked more frequently because the mechanical stress of frequent use can loosen terminal connections faster than switches used less often.
Can I diagnose a smart dimmer switch wiring problem without a multimeter?
You can diagnose many visible problems, such as loose connections, missing neutral wires, or disconnected ground wires, without a multimeter. However, a multimeter is essential for detecting voltage drop problems, ghost voltage, and unstable supply voltage that are invisible to the eye. A basic multimeter is inexpensive and available at most hardware stores, and it is one of the most valuable tools you can add to your home toolkit for electrical troubleshooting.