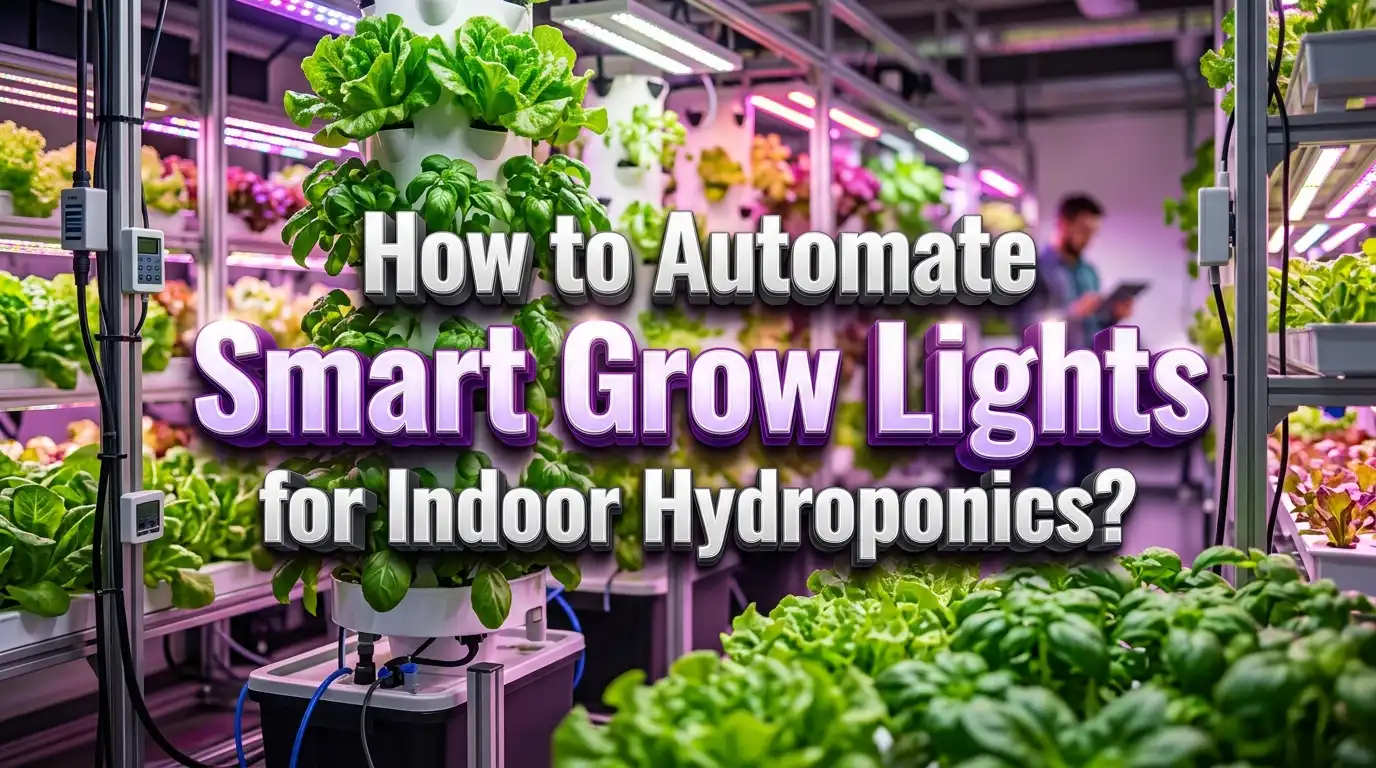
How to Automate Smart Grow Lights for Indoor Hydroponics?
Indoor hydroponics can feel easy on day one and messy by week two. You switch lights on late, leave them on too long, and then wonder why lettuce looks weak or basil grows thin.
Smart light automation fixes that problem fast. It gives your plants a steady routine, saves power, and cuts daily guesswork.
This guide shows the full process in clear steps. You will learn what settings matter, which methods work best, and how to solve the problems that stop many indoor growers.
In a Nutshell
- Start with plant targets before you buy gadgets. Your plants need the right amount of light, not just long hours of light. Leafy greens often do well with a daily light integral of about 12 to 17, while basil often likes about 15 to 25, and fruiting crops such as tomato often need about 20 to 30.
- A simple timer solves the biggest problem first. Most home growers get the best value from a basic daily schedule. Steady timing helps plants grow evenly, and it also stops human error from hurting your crop.
- Smart plugs add control without a full rebuild. You can change schedules from your phone, add scenes, and track on and off times. The tradeoff is that a smart plug still follows a simple rule unless you add sensors or a controller.
- Light height and light duration work together. If the lamp is too high, plants stretch. If the lamp is too low, leaves can bleach or curl. Measure light at leaf level and adjust a little at a time.
- Plants need darkness too. Many indoor crops grow well with about 12 to 14 hours of light, and many home setups stay within 10 to 16 hours. More hours do not always mean better growth, especially for crops that react to day length.
- Safety matters as much as growth. Water, power, and humidity live close together in hydroponics. Keep cords dry, keep loads within plug limits, use ground fault protection where needed, and test your automation before you trust it overnight.
Why Smart Light Automation Matters
Smart light automation gives your plants the same routine every day. Plants love that kind of order because photosynthesis, leaf growth, and recovery all depend on steady timing.
Manual control often fails for one simple reason. People get busy, forget the lights, or change the schedule too often. That small mistake repeats every day and slowly reduces growth.
A steady schedule also helps you manage total light with more accuracy. Research based guidance for indoor growing often points home growers to about 12 to 14 hours of supplemental light, with many setups staying in the 10 to 16 hour range.
Automation also lowers wasted energy. If your lights always turn off on time, your power bill stays more predictable. That matters a lot in hydroponics because pumps, fans, and lights already run for long hours.
Pros of automation are clear. You get better consistency, lower daily effort, easier crop planning, and fewer mistakes. You also free up time for pruning, cleaning, and nutrient checks.
Cons of automation are real too. Setup takes some planning, cheap devices can fail, and poor settings can automate the wrong routine. A bad schedule on autopilot is still a bad schedule.
The fix is simple. First learn what your crop needs. Then automate one small part at a time. That step by step approach keeps the system easy to understand and easy to repair.
Learn The Three Light Numbers First
Before you automate anything, learn three light numbers. They are PPFD, DLI, and daily light hours. These three values tell you how strong the light is, how much total light the plant gets, and how long the light stays on.
PPFD is the light that reaches the leaf surface at a given moment. It matters because a lamp can look bright to your eyes and still give the plant poor usable light.
DLI is the total light your plant gets in one day. It combines intensity and time. A practical formula is simple. DLI equals PPFD multiplied by 3600, multiplied by operating hours, then divided by 1000000.
That formula helps you build a real schedule. If your lettuce gets a PPFD around 300 for 14 hours, the total light lands near a strong daily target for leafy growth.
Some crop ranges make planning easier. Seedlings often do well around 5 to 10 DLI. Microgreens often do well around 9 to 12. Lettuce often sits around 12 to 17, basil around 15 to 25, and tomato around 20 to 30.
Pros of using these numbers are accuracy and control. You stop guessing and start matching the light plan to the crop.
Cons are that the terms feel new at first. The fix is easy. Write the target for each crop on a note near your system, and use that note every time you adjust the schedule.
Pick The Right Automation Level
You do not need the same setup for every grow room. A small shelf of lettuce needs less control than a tall rack with herbs, greens, and fruiting plants.
Level one is a basic outlet timer. It turns lights on and off at fixed times each day. This is the easiest option for beginners and works well for many leafy crops.
Level two is a smart plug system. It gives app control, schedule editing, and often simple scenes or routines. This level works well for growers who travel, grow multiple crops, or want alerts.
Level three adds dimming or a controller. You can reduce intensity for seedlings, increase it for mature plants, or create morning and evening changes. This is useful when one room holds crops at different stages.
Level four adds sensors and light rules. A controller can react to room light, temperature, or a target daily light amount. This level fits growers who want tighter control and better energy use.
Pros of low level automation are low cost, fast setup, and fewer failure points. It is also easier to troubleshoot.
Cons of low level automation are less flexibility and less precision. You may still need to move lights by hand and adjust settings for crop changes.
Pros of advanced automation are finer control and easier scaling. Cons are higher cost, more learning, and more points of failure. Start with the lowest level that solves your current problem.
Set Up A Simple Timer System
A timer is the easiest way to automate smart grow lights. It works well because most indoor hydroponic crops do best with a repeatable daily cycle.
Start by checking the total power draw of your light. Make sure the timer can safely handle that load. Then plug the light into the timer and the timer into a dry, stable outlet.
Pick a clear on time and off time. Many growers use a daytime schedule that matches their normal routine. That makes it easier to inspect plants while the lights are on.
For leafy greens, a good starter plan is about 12 to 14 hours per day. If growth looks slow and the light is not very intense, you can move closer to 14 or 16 hours. If leaves look stressed, shorten the day or reduce intensity.
After you set the timer, watch it for two full days. Confirm the clock is correct, the backup battery works if it has one, and the light starts without delay.
Pros of timer systems are low price, simple setup, and strong reliability. A timer also works even if your internet goes down.
Cons are limited control and no real feedback. If the room gets extra sunlight or the crop changes, the timer will still run the same program.
For many beginners, that is enough. A steady timer often gives better results than a fancy setup used without clear plant targets.
Use Smart Plugs And Dimmers
A smart plug gives you more control than a timer without much extra work. You can change schedules in an app, pause the light from anywhere, and often set different routines for weekdays and weekends.
Setup is simple. Connect the smart plug, name it clearly, and create one daily schedule first. Avoid stacking too many rules on day one because simple setups fail less often.
Smart plugs work best with lights that return to the last power state after power resumes. If your light needs a manual button press each time, the plug will not automate it well.
Adding a dimmer gives you another tool. Dimming helps seedlings, fresh transplants, and plants that sit close to the fixture. It also helps you fine tune total light without changing the entire schedule.
A good routine is easy. Run young plants at lower intensity, then raise output as roots and leaves expand. Small weekly changes are safer than one big jump.
Pros of smart plugs are phone control, easy schedule edits, and useful reminders. Pros of dimming are gentler starts, better stage control, and lower power use when full output is not needed.
Cons exist too. Smart plugs depend on software and stable power, and dimming adds one more setting you must track. If you want simple and solid, use a timer. If you want flexibility, smart plugs and dimmers are a strong middle step.
Build Sensor Based Light Rules
Sensor based automation moves you from fixed schedules to response based control. This means the system can react to room conditions instead of just following the clock.
The most useful sensor for advanced light control is a light sensor or a meter reading at canopy level. In mixed light rooms, that sensor helps you avoid running the lamp at full power when sunlight already does part of the job.
You can also use temperature as a helper rule. If the room gets too warm, the system can dim the light or shorten the active period. That protects plants and reduces stress.
A simple sensor rule might say this. If morning light in the room is weak, run the fixture at the normal level. If the room gets bright from a nearby window, hold or dim the fixture until the total daily target is close.
Some growers use phone based PPFD tools for home checks. They are not perfect, but they can be good enough for basic setup and adjustment if you measure at foliage level.
Pros of sensor based control are better energy use, tighter crop control, and easier adjustment in rooms with changing natural light. It also reduces overlighting.
Cons are more setup time, more learning, and more chances for bad calibration. If your sensor reads wrong, your automation can make the wrong choice all day.
Use sensor rules only after your basic timer plan works. First build a stable system. Then add intelligence to improve it.
Match The Schedule To Your Crop
Every crop wants a different light plan. The fastest way to fail with automation is to give every plant the same routine and hope for the best.
Leafy greens usually like moderate intensity and a steady daily schedule. Lettuce often grows well around a PPFD of 250 to 350 and a DLI around 12 to 17. That makes it a great crop for timer based systems.
Herbs often want more total light. Basil often performs well around 15 to 25 DLI. If basil grows thin, pale, or slow, the fix may be more useful light, not more nutrient strength.
Seedlings need less light than mature plants. Many young starts do well around 5 to 10 DLI. Strong light too early can stress tender leaves and dry small root zones faster.
Fruiting crops want the most. Tomato, cucumber, and zucchini often need about 20 to 30 DLI. These crops usually benefit from stronger fixtures, careful dimming, and closer schedule review.
Pros of crop specific schedules are better growth, better energy use, and fewer leaf problems. Plants get what they need instead of what the timer happens to give.
Cons show up in mixed gardens. One shelf may hold lettuce, basil, and seedlings at the same time. In that case, use separate zones, different shelf heights, or dimming so each group gets a better match.
Your automation works best when the crop plan leads the tech plan.
Place The Light At The Right Height
A smart schedule cannot fix bad light placement. If the fixture hangs too high, plants stretch and lean. If it sits too low, leaves can bleach, curl, or dry out.
Distance changes PPFD fast. A lamp closer to the canopy gives stronger light over a smaller area. A lamp farther away covers more area but gives less useful light to the leaf surface.
Start with the maker guide if you have it. Then test at leaf level and watch the plants for a few days. If stems stretch, lower the light a little. If leaf tips pale or crisp, raise it a little or dim it.
Uniform coverage matters too. One strong hotspot and one dark corner create uneven growth. That problem gets worse in hydroponics because all plants share the same water and nutrients, so light becomes the main difference.
Reflective side surfaces can help in small setups. They push more light back to the plant and reduce wasted output. Keep them clean so they keep working.
Pros of correct placement are compact growth, even color, and better use of every watt. Cons are mostly practical. You need to adjust as plants grow, and crowded shelves make that harder.
The easy rule is this. Recheck height every few days during fast growth. Automation controls time. You still control distance.
Sync Lights With The Rest Of The System
Grow lights do not work alone in hydroponics. Your light plan should match your pump cycle, room airflow, nutrient routine, and inspection schedule.
Run the light when you can observe the plants. That makes it easier to spot droop, algae, leaf burn, and pump issues early. A daylight style schedule is often easier for home growers than a night shift routine.
If your room gets warm, coordinate lights with airflow. Lights create heat, even efficient LED fixtures. A fan running with the light period helps reduce hot spots around the canopy.
Check evaporation too. Longer light hours can make small reservoirs lose water faster. If your top off habit does not match the new schedule, roots can suffer even if the lighting plan is correct.
Linking automation scenes can help. One routine can turn lights on, start circulation fans, and send a reminder to inspect water level. That keeps your system organized without making it hard to manage.
Pros of syncing systems are fewer surprises and smoother plant growth. The garden behaves like one system instead of five separate devices.
Cons appear if you overbuild too early. Too many linked rules can confuse you during a fault. Keep each rule simple and name every device clearly.
A smart hydroponic room does not need endless automation. It needs the right actions to happen at the right time in the right order.
Keep The Setup Safe And Reliable
Hydroponics puts water and power close together, so safety must come first. A fast growing crop is never worth a risky electrical setup.
Keep all power strips, plugs, and timers above floor level. Use drip loops on cords so water runs down and away from outlets. Never let a connector sit where leaks or splash can reach it.
Check the load on every device. A smart plug, timer, or outlet has a limit. Add up the total draw of your lights before you connect them, and leave a safety margin instead of pushing the rating.
Ground fault protection is a smart move in damp spaces. It adds a layer of shock protection where water and electricity may meet. If your area has code rules, follow them.
Humidity also matters. High moisture can shorten the life of plugs, drivers, and cheap timers. Keep air moving, keep devices dry, and inspect them for heat, rust, or discoloration.
Pros of safe design are obvious. You reduce fire risk, shock risk, and sudden crop loss from a failed device. Pros of reliable design are just as important. Your schedule keeps running when you sleep.
Cons usually mean extra effort or slightly higher cost. That trade is worth it. Safe cable routing, dry mounting points, and regular testing protect both your harvest and your home.
Fix Common Automation Problems Fast
If plants look bad after automation, do not blame the light first. Check the full chain in a simple order so you find the real cause fast.
First confirm the device turned on and off at the right time. A wrong clock, a lost smart connection, or a manual override button can break the schedule without warning.
Next check light height and intensity. Many growers increase hours when the real problem is weak light at the canopy. Others lower the fixture too much and mistake light stress for nutrient stress.
Then review crop stage. Seedlings, mature basil, and fruiting tomato cannot share the same target. If one zone holds mixed crops, split the zone or use dimming.
Watch for symptom patterns. Stretching often means too little useful light. Bleached tops often mean too much intensity or poor distance. Slow growth with healthy color may point to a low DLI.
Check heat and reservoir use too. Longer light periods can raise room temperature and increase water loss. That creates stress that looks like a lighting issue.
Pros of a fast check routine are less guesswork and faster recovery. Cons are only that you need discipline. Write your settings down. Log hours, height, and plant response. That one habit turns troubleshooting into a short task instead of a guessing game.
FAQs
How many hours should grow lights run in indoor hydroponics?
Most home growers start around 12 to 14 hours each day. Many setups stay within 10 to 16 hours, but the best number depends on crop type, light strength, and total daily light.
Do plants need darkness if I use smart lights?
Yes, they do. Plants use light to make energy, but they still need a dark period for normal growth and recovery. Running lights too long can stress some crops and can also waste power.
Can a smart plug handle my grow light safely?
It can if the plug rating matches the real power draw of the fixture and you keep the setup dry. Always check the load first and leave a safety margin instead of using the device at its limit every day.
Do I need a special light meter to automate well?
A professional meter helps, but many home growers can start with a good phone based PPFD tool and close plant observation. Measure at leaf level and use crop targets as your guide.
What is the easiest automation setup for beginners?
A basic timer is the easiest place to start. It is cheap, simple, and reliable. Once you trust the schedule and understand your crop needs, move up to smart plugs, dimming, or sensors.
Why do my plants still stretch even though the lights are on schedule?
The most common reason is weak light at the canopy. The schedule may be correct, but the fixture may sit too high, the spread may be uneven, or the crop may need a higher daily light target.