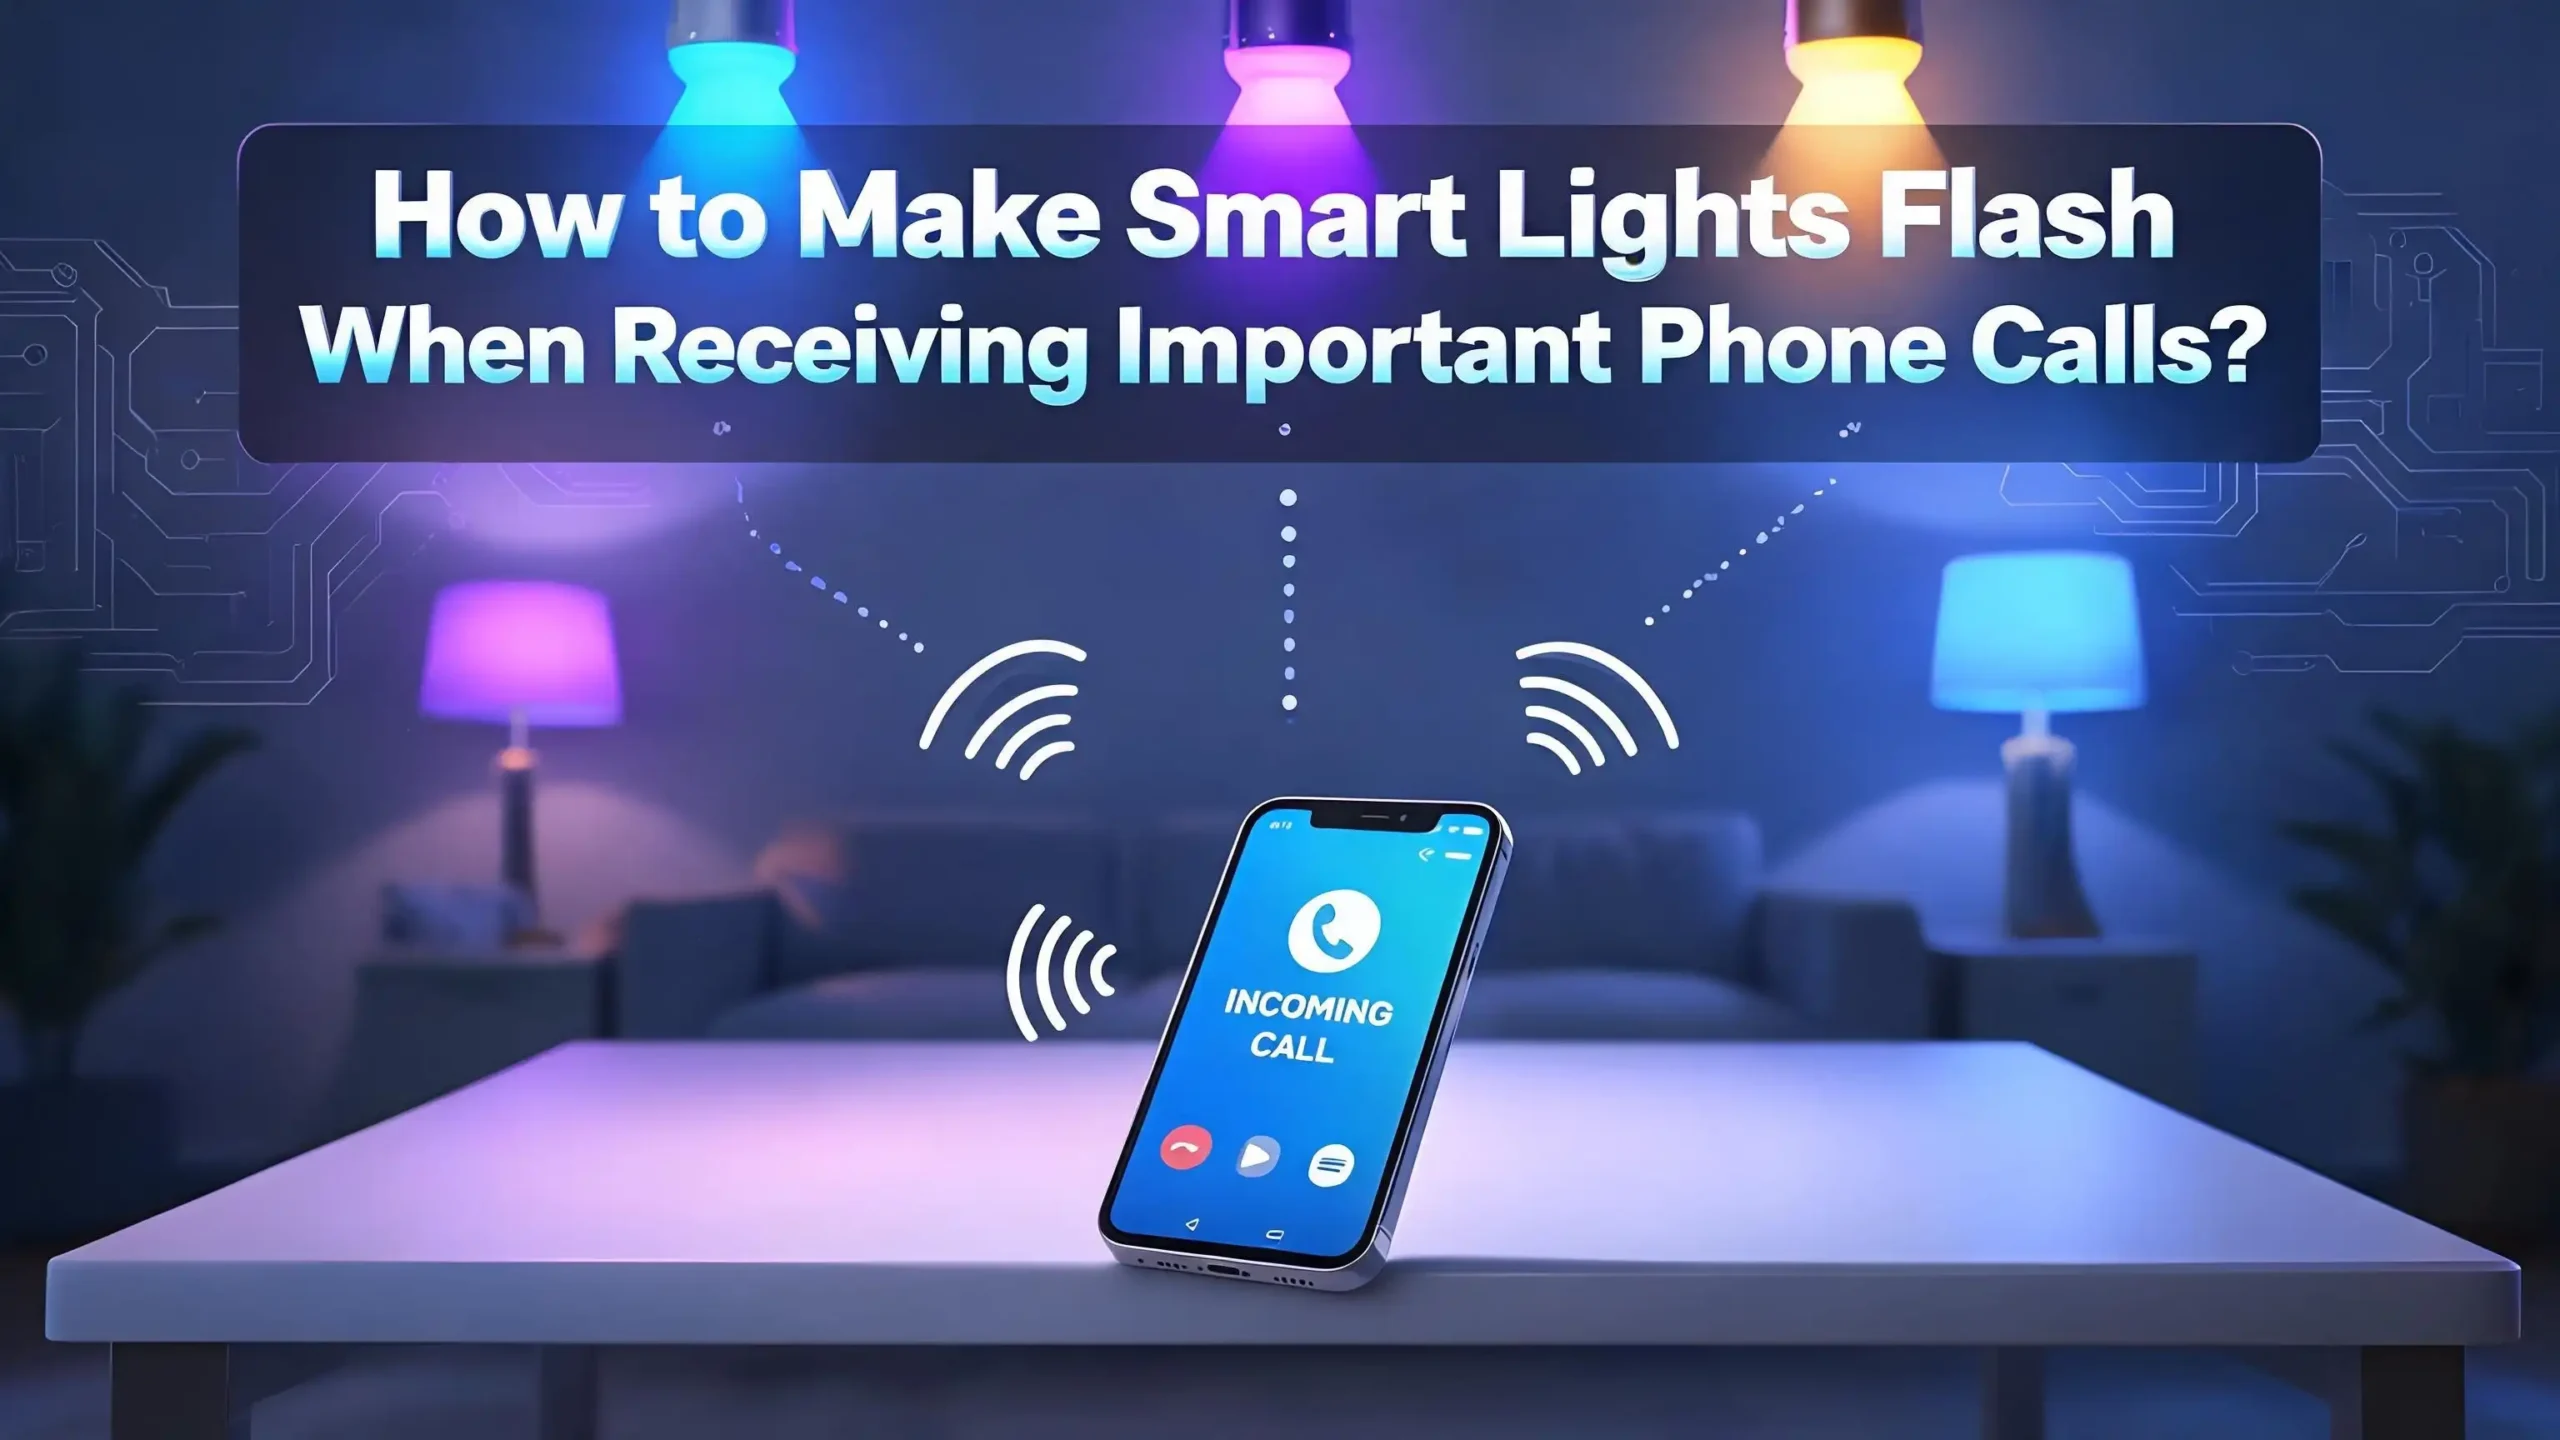
How to Make Smart Lights Flash When You Receive Important Phone Calls?
Have you ever missed an urgent phone call because your phone was on silent, buried under a pillow, or just too far away to notice? You are not alone. Millions of people miss critical calls every single day, whether it is from a doctor, a family member, or an important client.
Smart lights can do a lot more than just turn on and off on a schedule. When set up correctly, they can flash, change color, or pulse the moment an important call comes in.
This means even if you are in the shower, working in your garage, or watching TV with headphones on, a bright flashing light across the room will catch your attention instantly.
This guide walks you through every method available, from simple phone settings to advanced smart home automations, so you can choose the one that fits your setup best. No guessing, no frustration, just clear and practical steps you can follow right now.
Key Takeaways
- Smart lights can flash for incoming calls using tools like IFTTT, Home Assistant, Tasker, Apple Shortcuts, and built-in phone accessibility settings. You do not always need expensive equipment to make this work.
- IFTTT is one of the easiest platforms for connecting your Android phone’s incoming call trigger to smart bulbs from brands like Philips Hue, LIFX, and Tuya/SmartLife. It works without any coding knowledge.
- Home Assistant offers the most control for advanced users. With the Home Assistant Companion App, your phone’s ringing state becomes a sensor that can trigger complex lighting automations across your entire home.
- Android users have more automation options than iPhone users because of apps like Tasker, which can detect an incoming call state and send commands directly to smart bulbs through Wi-Fi or IFTTT webhooks.
- iPhone users can use Apple Shortcuts combined with HomeKit smart bulbs to create automations that flash lights when calls arrive, though it currently requires the phone to be unlocked or a specific workaround through focus modes.
- This setup is especially valuable for people who are hard of hearing, work in noisy environments, or simply need a reliable visual alert that they will not miss regardless of where they are in their home.
Why Smart Lights Are the Perfect Call Alert System?
Most people think smart lights are only useful for mood lighting or saving electricity. The truth is that smart lights are one of the best visual notification tools available in a home today. A flashing light is hard to ignore. It cuts through noise, distance, and distraction in a way that a phone buzz or ring simply cannot.
Research into accessibility technology shows that visual alerts are critical for people with hearing impairments. According to the World Health Organization, over 1.5 billion people worldwide live with some degree of hearing loss. For these individuals, a flashing light tied to a phone call is not a luxury but a genuine need.
Beyond accessibility, there are practical everyday reasons to set this up. Professionals working from home often miss client calls because they step away from their desk. Parents with babies often keep phones on silent. Gamers wearing headsets frequently ignore calls. In all these situations, a smart light that flashes when the phone rings solves the problem immediately.
The best part is that most people already have at least one smart bulb at home. Wi-Fi-enabled bulbs from brands like Philips Hue, LIFX, Govee, Tuya, and WiZ are all capable of being triggered by phone call events. The setup process varies by method, but every approach in this guide is achievable without any technical background.
What You Need Before You Start
Before you set anything up, it helps to gather the right tools. Getting this right from the beginning saves you time and avoids frustration later.
First, you need at least one smart bulb or smart light that connects to Wi-Fi or a smart home hub. Brands like Philips Hue, LIFX, Govee, Tuya, Sengled, and WiZ all work with the methods covered in this guide. Color-changing bulbs are the best choice because they can flash in a specific color to distinguish a call alert from other automations.
Second, you need a smartphone with a working internet connection. Both Android and iPhone are supported, though the setup steps differ. Android offers more flexibility through apps like Tasker and IFTTT, while iPhone users will rely more on Apple Shortcuts and HomeKit.
Third, you need an account with an automation platform. The most common options are IFTTT, Home Assistant, and Apple HomeKit. You do not need all three. Just pick the one that matches your devices and comfort level.
Finally, make sure your smart bulb is already set up and controllable through its app. If you can turn it on and off from your phone’s app, you are ready to move forward. The automation layer is added on top of an already working smart bulb, so the foundation needs to be solid first.
Method 1: Using IFTTT to Flash Smart Lights for Incoming Calls
IFTTT, which stands for “If This Then That,” is one of the most accessible automation platforms available. It connects hundreds of apps and devices together using simple rules called “Applets.” For Android users especially, IFTTT makes it very straightforward to trigger smart lights when a phone call comes in.
Step 1: Download and install the IFTTT app on your Android phone from the Google Play Store. Create a free account or log in if you already have one.
Step 2: In the IFTTT app, tap the “Create” button to start a new Applet.
Step 3: Tap the “If This” section and search for “Android Phone Call.” Select it as your trigger service.
Step 4: Choose the trigger type. You will see options like “Any phone call received,” “Phone call received from a specific number,” or “Any phone call placed.” Select the one that fits your need. “Phone call received” is the best option for a general incoming call alert.
Step 5: Tap “Then That” and search for your smart light brand. IFTTT supports Philips Hue, LIFX, and many Tuya-based devices. Select your brand and then choose the “Flash lights” or “Change color” action.
Step 6: Configure the action. Set the color, brightness, and duration of the flash. Save the Applet.
Step 7: Make sure the IFTTT app has permission to access phone calls on your Android device. Go to your phone’s Settings, find the IFTTT app, and enable “Phone” permissions.
One important note: IFTTT’s free plan has limited Applets. If you want more than two active Applets, you may need the Pro plan. However, a single Applet for phone call flashing is all you need for this use case, so the free plan works perfectly here.
Method 2: Using Home Assistant for Advanced Light Flash Automation
Home Assistant is a free, open-source smart home platform that runs locally on a device like a Raspberry Pi or a dedicated mini PC. It offers the most powerful and flexible way to flash smart lights for incoming calls, with zero reliance on cloud services.
Step 1: Install Home Assistant on your device and make sure it is running on your local network. The official setup guide at home-assistant.io covers this in detail.
Step 2: Install the Home Assistant Companion App on your Android or iPhone. This app connects your phone to your Home Assistant instance and exposes your phone’s sensors to the system.
Step 3: Inside the Companion App, go to Settings and enable the “Phone State” sensor (Android) or the relevant notification sensors (iPhone). This sensor reports when your phone is ringing, active on a call, or idle.
Step 4: In Home Assistant, go to Settings > Automations > Create Automation.
Step 5: Set the trigger to “State” and choose your phone’s sensor entity. Set the state value to “ringing” for Android.
Step 6: Add an action. Choose “Call Service” and select light.turn_on for your chosen bulb. Set the flash effect to “short” or “long” depending on what your bulb supports.
Step 7: Add a second action to turn the light back to its original state after the call ends. You can use the “Wait for trigger” option to detect when the phone state returns to “idle.”
Step 8: Save and test the automation by calling your phone from another device.
Home Assistant is the gold standard for this type of setup because it works instantly on your local network, does not depend on internet connectivity, and gives you granular control over flash timing, color, and which rooms are triggered.
Method 3: Using Tasker on Android for Full Control
Tasker is an Android-only automation app that gives you root-level control over your phone’s behavior. It can detect incoming calls and send HTTP commands directly to smart bulbs that support local API control, or it can trigger IFTTT webhooks to activate cloud-based smart lights.
Step 1: Purchase and install Tasker from the Google Play Store. It is a paid app, but it is worth every cent for the level of automation it provides.
Step 2: Open Tasker and tap the “+” button to create a new Profile.
Step 3: Select “Event” as the profile type, then choose “Phone” and then “Phone Ringing.” This sets the trigger to fire every time your phone rings.
Step 4: Create a new Task when prompted. Name it something like “Flash Smart Light.”
Step 5: Inside the Task, add an action. If your smart bulb supports local control (like most Tuya or Govee bulbs), use the “HTTP Request” action to send a command directly to the bulb’s local IP address.
Step 6: Alternatively, use the “HTTP GET” action to fire an IFTTT Webhook URL. This tells IFTTT to execute a specific action, like flashing your Philips Hue lights.
Step 7: Add a second Profile that triggers when “Phone Off Hook” (call answered or ended) to stop the flashing.
Step 8: Test the setup by calling your phone and watching the light respond.
Tasker is the most powerful option for Android users who want complete offline control without relying on any third-party cloud service. The learning curve is a bit steeper, but the result is extremely reliable and fast.
Method 4: Using Apple Shortcuts and HomeKit for iPhone Users
iPhone users have a clean and native way to connect their phone calls to HomeKit smart lights using Apple Shortcuts and Focus Modes. While it has some limitations compared to Android methods, it still delivers a solid result for most use cases.
Step 1: Make sure your smart bulbs are added to the Apple Home app as HomeKit accessories. Brands like Philips Hue, Nanoleaf, and Meross support HomeKit natively.
Step 2: Open the Shortcuts app on your iPhone. Tap “Automation” at the bottom of the screen.
Step 3: Tap the “+” button and select “Create Personal Automation.”
Step 4: Scroll down and look for a phone-related trigger. While Apple Shortcuts does not yet have a direct “phone ringing” trigger, you can use “Call” triggers or “Focus” mode changes as a workaround.
Step 5: One effective method is to use the “Do Not Disturb” or “Driving” Focus exception list. Allow specific contacts to bypass Focus Mode and pair it with a HomeKit automation that flashes lights when those contacts call.
Step 6: For a more direct approach, use a third-party app like Hammerspoon (Mac) paired with an iPhone shortcut to detect call events and trigger lights via HomeKit scenes.
Step 7: In the Shortcuts automation, add the action “Control Home” and select your smart bulb. Set it to flash by turning it off and on in rapid sequence using a “Repeat” loop.
Step 8: Set the repeat count to 5 or 6 cycles with a 0.5 second delay between each toggle for a noticeable flash effect.
Apple’s ecosystem is highly secure and tightly controlled, which means call detection shortcuts have fewer native triggers than Android. However, combining Focus Modes with HomeKit scenes is a practical and effective workaround that many iPhone users already use successfully.
Method 5: Using Google Home Routines for Nest and Google Smart Speakers:
If you have Google Nest smart speakers and Google-compatible bulbs, you can use Google Home Routines to create light-based call alerts through a slightly different approach. While Google Home does not directly detect phone calls on a smartphone, you can combine it with IFTTT or the Google Assistant’s call announcement features.
Step 1: Open the Google Home app and go to the “Routines” section from the app menu.
Step 2: Tap “Add” to create a new routine. Set the starter to “Voice command” or “Time of day” as a base, since Google Home does not have a native phone-ringing trigger.
Step 3: To bridge the gap, use IFTTT with the Android Phone Call service as the trigger and select Google Home or your Tuya/TP-Link bulbs as the action.
Step 4: Alternatively, if you use Google Duo or Google Meet for calls, Google Home can natively announce incoming Duo calls on Nest Hub and Nest Audio devices. Go to Google Home Settings > Notifications and enable call alerts.
Step 5: For smart bulb flashing, create a Google Home routine that activates when a specific voice command is spoken or when a webhook is received from IFTTT.
Step 6: In the routine action, select your connected lights and set them to a specific color or blinking pattern.
Google Home is best used as a supplementary alert system rather than a standalone solution for call detection. Pairing it with IFTTT creates a strong and reliable combination that covers most Google-ecosystem smart home setups.
How to Set Up Flashing Light Alerts for Specific Contacts Only
One of the most useful refinements you can make to your call flash system is restricting it to specific contacts. You probably do not want your lights flashing every time a telemarketer calls. Here is how to make the lights flash only for important callers.
For Android with IFTTT: When creating your Applet, choose the trigger “Phone call received from a specific number.” Enter the phone number of the contact you want to prioritize. Create separate Applets for each important contact, or use the VIP contacts feature in your dialer app to assign a specific ringtone and use that as the Tasker trigger.
For Android with Tasker: In the “Phone Ringing” event settings, there is a “Caller” field. Type the contact name or number there. Tasker will only fire the task when that specific person calls.
For iPhone with HomeKit: Use the Focus Mode “Allowed Contacts” list. Only the people on that list will have their calls trigger the Focus change, which in turn activates your HomeKit light automation.
For Home Assistant: In your automation’s trigger section, add a condition that checks the caller ID value from the Companion App sensor. Home Assistant’s conditional triggers let you create very precise rules based on the exact number or contact name calling.
This level of precision makes your flash alert system far more useful in daily life. Instead of your lights going crazy every time someone calls, they only respond to the people who truly matter, like your doctor, your boss, or a family member you are waiting to hear from.
Choosing the Right Smart Bulb for Call Flash Alerts
Not all smart bulbs are equally good at flashing. Some bulbs have a slow response time, and some only support on and off without any color or effect options. Choosing the right one makes a big difference in how noticeable your alerts are.
Color-changing bulbs are strongly recommended over white-only bulbs. When your lights flash in a specific color, like red or bright yellow, they are far more noticeable than a simple brightness change. A red flashing light instantly signals urgency in a way that a white flash might not.
Wi-Fi bulbs respond faster than Zigbee bulbs in most automation setups, because they connect directly to your router without needing a hub to relay the command. For call alerts where speed matters, Wi-Fi bulbs are the better choice.
Local control support is a major advantage. Bulbs that support local API commands (such as many Tuya-compatible bulbs and LIFX bulbs) respond in under a second when triggered through Tasker or Home Assistant. Bulbs that rely entirely on cloud servers can have a 2 to 5 second delay, which means the light might not flash until the phone has already rung three or four times.
Check the flash frequency support. Some bulbs have a built-in “flash” effect in their API. Philips Hue supports a “breathe” and “alert” mode. LIFX supports “pulse” effects with custom colors and durations. These built-in effects look more polished than simply toggling the bulb on and off manually.
Place your chosen bulb in a central and visible location in your home. A bulb in a lamp you walk past often, or one visible from multiple rooms, will alert you far more reliably than one tucked away in a corner.
Tips to Make Your Flash Alert System More Reliable:
Setting up the automation is only half the job. Making sure it works every single time is equally important. Here are practical tips to keep your system running smoothly.
Keep your automation app running in the background. Both IFTTT and Tasker need to run as background services on your Android phone. Go to your phone’s Battery settings and set these apps to “Unrestricted” or “No restrictions” to prevent the system from killing them when not in active use.
Test your setup weekly. Call your own phone from another device once a week to confirm the flash alert is still working. Apps update frequently and sometimes lose their background permissions after an update.
Use a static IP address for your smart bulbs. If you are using local API control through Tasker or Home Assistant, assign a fixed local IP address to your smart bulb in your router’s settings. This prevents the bulb’s IP from changing and breaking your automation.
Log your automations in IFTTT or Home Assistant to see if triggers are firing correctly. If the light stops flashing, checking the logs is the fastest way to diagnose what broke.
Have a backup notification method. Pair your light flash with a sound notification or a vibration alert on a smartwatch. This way, if the light automation fails for any reason, you still have a fallback.
Update your smart bulb firmware regularly. Manufacturers push firmware updates that improve response times and fix connectivity bugs. Check the bulb’s app periodically for available updates.
Setting Up a Flash Alert for Missed Calls Too
Flashing for an active incoming call is useful, but what about calls you miss while you are away from the room? Setting up a missed call alert keeps a visual reminder active until you acknowledge it.
With IFTTT on Android: Create a separate Applet where the trigger is “Any phone call missed” from the Android Phone Call service. Set the action to change your smart bulb to a specific color, like orange or amber, and leave it on. This persistent color change acts as a visual missed call indicator.
With Home Assistant: Add a second automation where the phone state sensor changes from “ringing” to “idle” without passing through “offhook” (answered). This means the call was missed. Trigger a light color change and keep it active until you manually reset it or until a specific time passes.
With Tasker: Create a second profile that triggers on the “Call Missed” event. Set the smart bulb to turn on in a specific color. Add a third profile that resets the light when you open your Phone app, signaling that you have seen the missed call.
A missed call reminder light is especially helpful for people who work from home and step away from their desk frequently. Instead of constantly checking your phone, a glance at the indicator light tells you instantly whether you missed something important.
Smart Light Flash Alerts for Accessibility and Hearing Impairment
For people who are hard of hearing or completely deaf, flashing light alerts are not just convenient but truly essential. This section covers the best approaches specifically for accessibility use cases.
Phone’s built-in LED flash is the first and simplest step. On iPhone, go to Settings > Accessibility > Audio and Visual > LED Flash for Alerts and turn it on. On Android, go to Settings > Accessibility > Hearing Enhancements and enable “Flash Notification.” This makes the phone’s camera flash blink for all incoming calls and notifications. It is immediate and requires no additional hardware.
For room-wide visibility, smart bulb automations as described in the IFTTT and Home Assistant methods above extend the alert to every corner of your home. Place bright color-changing bulbs in multiple rooms so that no matter where the person is, they will see the alert.
Strobe-effect bulbs or LED strips placed at eye level or along the ceiling perimeter create a highly visible alert that is hard to miss even in a noisy or busy environment. LIFX bulbs with pulse effects and Govee LED strips with app-triggered animations are excellent choices for this purpose.
Consider also setting up multiple simultaneous actions. When the phone rings, flash the bedroom light, change the living room light to red, and send a vibration to a smartwatch all at the same time. Layering multiple alerts dramatically improves the chance of the call being noticed.
For elderly family members or people with limited technical ability, the simplest approach is to have a family member set up the IFTTT Applet for them and then leave it running automatically. Once configured, the system requires zero interaction from the user. It simply works every time a call comes in.
Troubleshooting Common Problems with Call Flash Automations
Even a well-configured system can run into problems. Here are the most common issues people face and exactly how to fix them.
Problem: The lights flash, but there is a 5 to 10 second delay. This almost always means the automation is going through a cloud server with slow processing. Switch to a local control method using Home Assistant or Tasker with direct API calls to your smart bulb. Local commands execute in under one second.
Problem: The lights flash once but not repeatedly. This means the “repeat” or “loop” step in your automation is not configured correctly. In Tasker, increase the repeat count in the flash task. In Home Assistant, use the “repeat” action block and set a delay between each toggle.
Problem: The automation stopped working after a phone update. Android updates sometimes reset app permissions. Go to Settings > Apps > IFTTT (or Tasker) > Permissions and re-enable “Phone” access. Also check battery optimization settings to make sure the app is still allowed to run in the background.
Problem: The smart bulb is not responding to the trigger at all. First, check that the bulb is online in its app. Then verify that the IFTTT or Home Assistant service is still connected to your smart bulb account. Re-authenticate the connection if needed.
Problem: iPhone Shortcuts automation does not trigger reliably. Apple Shortcuts automations sometimes need manual confirmation before running. To fix this, make sure “Ask Before Running” is turned off in the automation settings. For fully automatic execution, a personal automation in Shortcuts must have this toggle disabled.
Patience is key when troubleshooting. Most issues trace back to permissions, network connectivity, or a disconnected service account. Working through these one step at a time almost always resolves the problem.
Best Practices for Managing Your Flash Alert Setup Long-Term
A smart light flash system works best when it is maintained and kept up to date. Here are the habits that keep the system running smoothly over time.
Document your setup. Write down the exact Applets, automations, or Tasker profiles you created. Include the bulb names, IP addresses (if used), and any account credentials involved. This makes it easy to rebuild the system if you ever switch phones or reset your smart home hub.
Group your lights by room in your automation platform. Instead of flashing just one bulb, flash every light in the living room or bedroom simultaneously. This creates a more noticeable alert and ensures coverage regardless of which part of the room you are in.
Review your automations every few months to make sure all the connected services are still active. IFTTT, Home Assistant, and Tasker all receive updates that can sometimes change how triggers or actions are configured.
Consider adding a voice announcement alongside the flash. If you have a Google Nest or Amazon Echo device, pair the light flash with a spoken announcement like “You have an incoming call.” This creates a two-channel alert system that is even harder to miss.
Teach family members how to use the system. If the flash alert is set up for someone else in the household, make sure they understand what the flashing light means. A simple note on or near the light fixture explaining “this light flashes when your phone is ringing” removes any confusion.
Consistency and simplicity make the best systems. A setup that reliably works every single time with minimal complexity is far more valuable than an elaborate system that occasionally fails.
Frequently Asked Questions
Can I make smart lights flash only for specific phone numbers?
Yes, you can. With IFTTT, choose the “Phone call received from a specific number” trigger and enter the number you want. With Tasker on Android, enter the contact name or number in the “Caller” field of the Phone Ringing event. With Home Assistant, add a condition to your automation that checks the caller ID sensor value before triggering the light.
Does this work if my phone is on silent or Do Not Disturb?
Yes, it does. Smart light automations work independently of your phone’s ringer volume. The IFTTT app, Tasker, or Home Assistant Companion App detects the incoming call event at the system level, not the audio level. Your lights will still flash even when the phone is completely silent.
What is the best smart bulb brand for call flash alerts?
LIFX bulbs are widely praised for their fast response and built-in pulse effect. Philips Hue bulbs with a Hue Bridge offer reliable local control and native flash alert effects. Govee and Tuya-based bulbs also work well through IFTTT or Home Assistant. Color-changing models from any of these brands are strongly preferred over white-only bulbs.
Does IFTTT work with iPhone for phone call triggers?
Currently, IFTTT’s “Android Phone Call” service only supports Android devices. iPhone users do not have a direct equivalent in IFTTT. iPhone users should use Apple Shortcuts with HomeKit automations, or consider the Home Assistant Companion App with the phone state sensor as the best alternative.
How many smart lights can I set to flash at the same time?
You can flash as many lights as your automation platform supports. In Home Assistant, you can target an entire room, a specific group, or every light in your home at once. In IFTTT, a single Applet action typically controls one light or one group. You can create multiple Applets targeting different lights if needed on the free plan within the two-Applet limit, or upgrade to IFTTT Pro for more.
Will the flashing lights return to their previous state after the call ends?
This depends on how you configure the automation. In Home Assistant, you can save the light’s current state before flashing and restore it after the call ends using the “light.turn_on” service with the saved state values. In IFTTT, you would need a second Applet triggered by “Call Ended” or “Call Answered” to turn the light back to normal. Tasker also supports this with a paired profile for the call-ended event.
Is this setup suitable for someone who is completely deaf?
Absolutely. This is one of the most powerful accessibility use cases for smart lighting. Pairing a room-wide flash using bright color-changing bulbs with a vibrating smartwatch creates a highly effective alert system for someone who is completely deaf. The setup requires initial configuration by a caregiver or family member but then runs automatically without any interaction from the user.
What happens if my internet goes down? Will the lights still flash?
If you use cloud-based services like IFTTT, the lights will not flash during an internet outage. To make the system work offline, use Home Assistant with local control-enabled smart bulbs and Tasker on Android. This setup runs entirely on your local network and does not require internet connectivity to function.