How to Integrate Smart Lighting With Automated Pet Feeders?
Your pet deserves a comfortable and well organized home, even when you are busy or away. Smart lighting and automated pet feeders are two popular smart home devices that work wonderfully on their own. But what happens when you combine them? You create a seamless pet care system that feeds your pet on schedule and uses lights to signal feeding time, reduce anxiety, and keep your home safe.
Many pet owners struggle with forgetting feeding schedules, leaving pets in dark rooms, or managing multiple apps for different devices. The good news is that modern smart home platforms make it easy to link these two systems together.
This guide walks you through the entire process. You will learn what devices you need, which platforms connect them, and how to build automations that make your life and your pet’s life much easier. Let’s get started.
Key Takeaways
- Smart lighting and automated pet feeders can work together through platforms like Google Home, Alexa, Home Assistant, and IFTTT. These platforms act as bridges that allow your devices to communicate with each other and run shared automations.
- You need devices that share a common ecosystem or use a universal protocol like Wi Fi, Zigbee, or Matter. Choosing compatible products from the start saves you time, money, and frustration during setup.
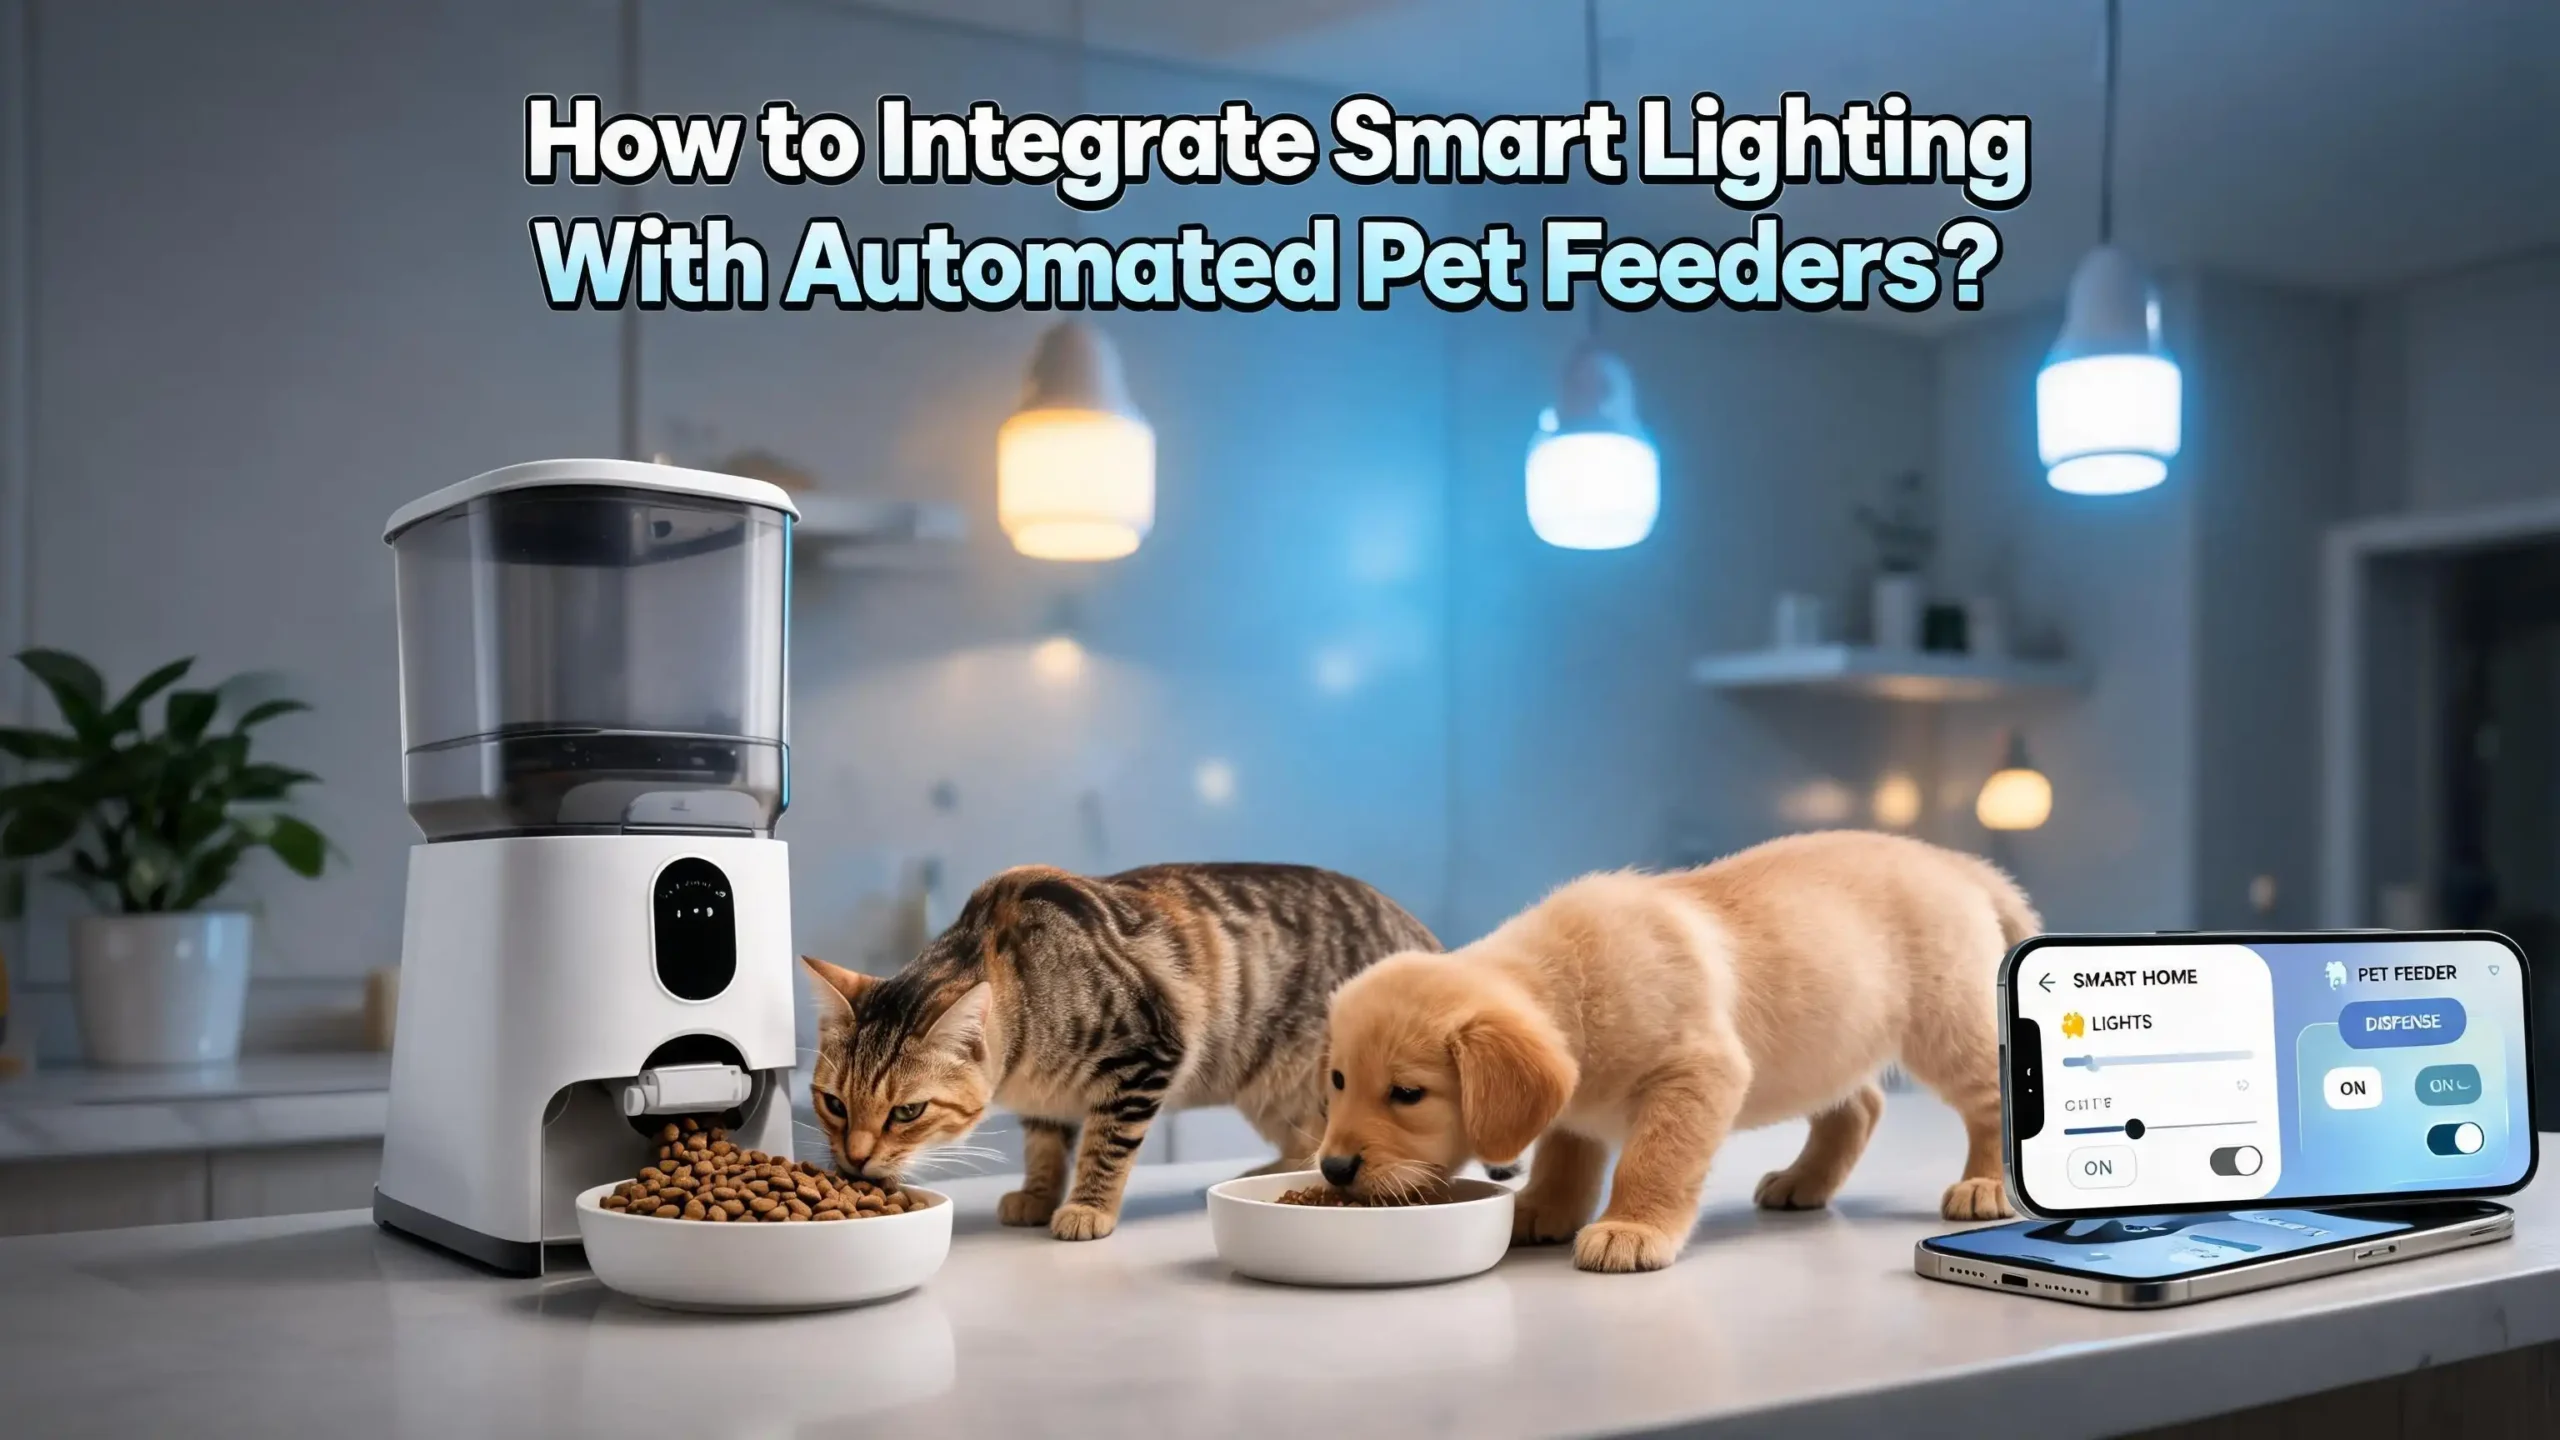
- Automations can include visual feeding alerts, such as a green light turning on when food is dispensed. This helps both you and your pet recognize feeding time without checking your phone.
- A central smart home hub is the most reliable way to connect lighting and feeders. Hubs like SmartThings, Aqara Hub M3, or a Home Assistant server give you full control over device pairings and scheduling.
- You can build routines that adjust lights and feeding schedules based on time of day, your location, or sensor triggers. For example, your lights can turn warm at sunset and the feeder can dispense a meal at the same time.
- Troubleshooting integration issues usually involves checking Wi Fi strength, updating firmware, and verifying that both devices are on the same network and platform.
Why Combine Smart Lighting With Automated Pet Feeders
Combining smart lighting with automated pet feeders solves several problems at once. Pets thrive on routine. They eat better and feel calmer when their environment signals consistency. A light that turns on at the same time food appears creates a strong behavioral cue that your pet will learn quickly.
This combination also helps pet owners who work long hours or travel often. You can leave home knowing your pet will get fed on time in a well lit space. A survey referenced by IFTTT found that 79% of pet owners believe technology can improve their pet’s quality of life. Linking lights and feeders is one of the simplest ways to do this.
There is also a safety benefit. Pets left in dark rooms can become anxious or disoriented, especially cats and older dogs. Automated lighting that activates before or during feeding time keeps the area visible and welcoming. Some pet owners even use color changing bulbs to signal different events. Green means food is ready. Blue means water refill. Red means the food bin is running low.
From an energy perspective, this setup is efficient. You do not need to leave lights on all day. Smart bulbs only activate when needed, such as during feeding times or when motion is detected near the feeding station. This saves electricity while still giving your pet a comfortable environment.
What Devices You Need for This Integration
You need three core components to integrate smart lighting with an automated pet feeder. The first is a Wi Fi or Zigbee enabled pet feeder that supports app control and scheduling. Popular options include Tuya based feeders, Aqara Smart Pet Feeder C1, and PetKit feeders. These devices connect to your home network and allow remote control.
The second component is a smart lighting system. Philips Hue, LIFX, Wyze, Govee, and Tuya smart bulbs all work well. The key requirement is that your smart bulbs or light strips connect to the same platform or hub that your feeder uses. If both devices work with the Smart Life app, for example, integration is much simpler.
The third component is a central control platform or hub. This could be a voice assistant like an Amazon Echo or Google Nest Hub. It could also be a dedicated smart home hub like Samsung SmartThings or an Aqara Hub. For advanced users, Home Assistant running on a Raspberry Pi or mini PC offers the most flexibility.
You may also want a motion sensor near the feeding area. This allows you to trigger lights when your pet approaches the bowl. Aqara, Hue, and SmartThings all offer small, affordable motion sensors that pair easily with their lighting products.
How to Choose a Compatible Smart Home Platform
The platform you choose determines how easily your devices will communicate. The most common platforms for this type of integration include Google Home, Amazon Alexa, Samsung SmartThings, Apple HomeKit, and Home Assistant.
Google Home supports automations that combine lights and other devices. You can create routines that trigger at specific times, such as turning on the kitchen light and sending a notification at 7:00 AM when the feeder runs. Google Home also supports the script editor for more advanced setups.
Amazon Alexa allows you to create routines that chain multiple device actions. If your feeder sends a notification or works with a smart plug, you can build a routine where Alexa turns on a specific light when the plug activates. This is a simple workaround for feeders that do not directly integrate with Alexa.
Home Assistant is the most powerful option. It supports Tuya, Zigbee, Matter, and hundreds of device types. You can write automations that say “when the pet feeder entity changes to feeding, turn on the kitchen light at 50% brightness for 10 minutes.” This level of control is unmatched.
Samsung SmartThings offers a middle ground. It supports many Zigbee and Wi Fi devices and has an intuitive app for building automations. Its Pet Care feature, available on Samsung TVs, can even detect barking and trigger responses. Choose the platform that matches most of your existing devices.
Setting Up Your Automated Pet Feeder for Integration
Before you can link your feeder to lights, you need to set it up properly. Start by connecting the feeder to your Wi Fi network using the manufacturer’s app. Most feeders use the Smart Life, Tuya, PetKit, or Aqara app. Follow the in app instructions to register your device and connect it to your router.
Next, configure your feeding schedule within the app. Set specific times for each meal and adjust the portion sizes based on your pet’s dietary needs. Most smart feeders allow between one and ten meals per day. Test the feeder manually a few times to make sure it dispenses the correct amount before relying on automation.
Once the feeder is running on schedule, check whether the app supports third party integration. Look for options like “Works with Google Assistant,” “Works with Alexa,” or “IFTTT compatible.” If your feeder uses the Tuya platform, you can link it to Google Home or Alexa through the Smart Life skill or action.
For Home Assistant users, search the integrations page for your feeder brand. Aqara feeders connect through the Zigbee integration. Tuya based feeders connect through the Tuya or LocalTuya integration. Once your feeder appears as a device in your smart home platform, you can start building automations with it.
Setting Up Smart Lighting for Pet Feeding Areas
Position your smart lights where they will be most useful. Place a smart bulb or light strip near the feeding station so it illuminates the area clearly. A warm white light at about 50% brightness works well because it is visible without startling your pet.
Install the light using the same app or platform as your feeder. If you use Philips Hue, set up the Hue Bridge and connect your bulbs through the Hue app first. Then link the Hue skill to Google Home or Alexa. If you use Tuya based bulbs, add them directly to the Smart Life app.
Create a light scene or preset specifically for feeding time. For example, name it “Feeding Light” and set the color to warm white at 40% brightness. Saving this as a scene lets you activate it quickly inside an automation. You can also create different scenes for morning and evening feedings with different brightness levels.
If you have a motion sensor, place it about two feet from the feeding bowl. Configure the sensor to trigger the feeding light when it detects movement. This adds an extra layer of automation: your pet walks to the bowl, the light turns on, and the feeder dispenses food. The whole process runs without any input from you. Make sure the light has an automatic shutoff timer so it does not stay on all day.
Building Automations With Google Home
Google Home makes it straightforward to create routines that combine lighting and feeding cues. Open the Google Home app on your phone. Tap Automations and then tap the plus icon to create a new routine.
Set the starter as a specific time. Choose the time when your feeder dispenses food. For example, if your feeder is set to 7:00 AM, create a routine that starts at 7:00 AM. Under actions, add “Turn on kitchen light” and set the brightness to 50%. You can also add a second action to play a specific sound or announce “It’s feeding time” on a Nest speaker.
For more advanced routines, use the Google Home script editor available on the web version. You can write scripts that respond to device states. For example, the script editor lets you say “At 7:00 AM, turn on the feeding light, wait 15 minutes, then turn off the feeding light.” This is ideal if you want lights to stay on only during mealtime.
Google Home also supports presence based routines. You can set automations to run only when everyone is away from home. This ensures the lights and feeder activate for your pet while you are at work but do not trigger unnecessary actions when you are home. Set the condition to “When everyone is away” and add your feeding and lighting actions under that trigger.
Building Automations With Amazon Alexa
Alexa routines offer a flexible way to pair smart lights with pet feeders. Open the Alexa app, go to More, and select Routines. Tap the plus icon to create a new routine.
Set the trigger to “Schedule” and choose the time that matches your feeder’s schedule. Under Add Action, select “Smart Home” and then choose your smart light. Set the brightness and color you want. You can add multiple actions to a single routine, so add a second action to send a notification to your phone confirming the feeding time has arrived.
If your feeder connects through a smart plug, you can use the plug’s state as a trigger. When the smart plug turns on to power the feeder, Alexa can respond by turning on the lights. This is especially useful for feeders that do not have native Alexa integration.
You can also use Alexa announcements to create audio cues for your pet. Add an action that says “Dinner time!” through your Echo speaker. Over time, your pet will associate this sound with food. Combined with the visual cue of a light turning on, this creates a strong multi sensory signal that reinforces your pet’s routine.
Alexa routines also support conditions like “only on weekdays” or “only during specific hours.” Use these to create different feeding and lighting schedules for work days versus weekends.
Building Automations With Home Assistant
Home Assistant provides the deepest level of control for integrating smart lights with pet feeders. Once both devices appear in your Home Assistant dashboard, go to Settings, then Automations and Scenes, and click Create Automation.
Set the trigger to a time based event or a state change on your pet feeder entity. For example, if your Aqara C1 feeder reports a “feeding” state in Home Assistant, you can trigger an action whenever that state changes. Under actions, add “Turn on light” and set the entity to your feeding area light. Set brightness to 50% and color temperature to warm white.
You can add conditions to make the automation smarter. Add a condition that checks whether it is dark outside using the sun entity. This way, the light only turns on during evening or night feedings. During daytime feedings, the automation skips the lighting action because natural light is sufficient.
Home Assistant also supports sequences and delays. You can build an automation that turns on the light, waits 30 seconds for the feeder to dispense food, and then dims the light gradually over 10 minutes. This creates a calm, gradual transition that does not startle your pet.
For users with contact sensors on the food bin, you can add another automation layer. If the food bin has not been opened by 8:00 PM, change a living room light to red as a visual reminder. This is a popular setup among Home Assistant users who want to avoid double feeding or missed meals.
Using IFTTT to Connect Lights and Feeders
IFTTT works as a bridge between devices that do not share a native platform. If your feeder uses the PetKit app and your lights use the Hue app, IFTTT can link them through applets.
Create a new applet on the IFTTT website or app. Choose the “If This” trigger from your feeder service or from a scheduling service like Date and Time. Set it to the time your feeder runs. For the “Then That” action, choose your lighting service and set the desired light behavior.
IFTTT also supports location based triggers. You can create an applet that turns on your feeding area lights when you leave a specific location. This ensures your pet’s space is illuminated the moment you head out for work. Pair this with a scheduled feeding and your pet will have both food and light ready without any manual action.
One limitation of IFTTT is speed. There can be a delay of several seconds to a minute between the trigger and the action. For time critical automations, a direct platform like Home Assistant or SmartThings is faster. But for simple scheduled tasks, IFTTT works reliably and requires no technical expertise.
IFTTT offers both free and paid plans. The free plan allows two applets, while the paid plan supports unlimited applets and multi step automations. If you plan to build several pet care routines, the paid plan offers better value.
Using Motion Sensors for Smarter Feeding Routines
Motion sensors add an intelligent layer to your lighting and feeding setup. A small motion sensor placed near the feeding station can detect when your pet approaches the bowl. This triggers the light to turn on, creating a visual welcome for your pet.
In Google Home, you can create an automation where the Nest Cam detects your pet in the hallway and sets the hallway lights to 20% brightness. This is especially helpful at night when your pet needs a gentle guide to the feeding area without bright lights disturbing the household.
In Home Assistant, motion sensor automations are highly customizable. You can set a condition that the light only responds to motion between 6:00 PM and 6:00 AM. During the day, the sensor stays silent. You can also set a cooldown period so the light does not repeatedly turn on and off as your pet moves around.
Some pet owners combine motion sensors with color changing bulbs to indicate different states. When the sensor detects motion near a full bowl, the light stays green. When the food bin sensor shows low levels, the light turns yellow. This kind of status lighting gives you instant visual feedback about your pet’s feeding situation without opening an app.
Motion sensors also help you track your pet’s feeding behavior. If you log sensor activations in Home Assistant, you can see patterns in when your pet eats and how often they visit the bowl.
Troubleshooting Common Integration Issues
The most common problem is devices not appearing on the same platform. If your feeder uses the PetKit app and your lights use Philips Hue, they cannot communicate directly. You need a bridge like IFTTT, Google Home, or Home Assistant to link them.
Wi Fi connectivity issues cause many automation failures. Smart pet feeders and smart bulbs need a stable 2.4 GHz Wi Fi signal. Most smart home devices do not support 5 GHz networks. Check your router settings and make sure the 2.4 GHz band is enabled and that the feeding area has strong signal coverage.
Firmware updates can also break integrations. After an update, your feeder or light might disconnect from the platform. Open the manufacturer’s app and reconnect the device. Then check your automations to make sure all device links are still active.
If automations run at the wrong time, verify your time zone settings in both the device app and the smart home platform. A mismatch between the feeder’s time zone and the platform’s time zone can cause feeding and lighting events to fire hours early or late.
For Home Assistant users, check the device logs for error messages. Common issues include expired API tokens for Tuya integrations and Zigbee pairing failures for Aqara devices. Restarting the integration or re pairing the device usually fixes these problems.
Tips for Keeping Your Pet Comfortable With Smart Automation
Automation should improve your pet’s experience, not stress them out. Start with simple routines and add complexity gradually. A single light turning on at feeding time is a good first automation. Add sound cues, color changes, and motion triggers only after your pet adjusts to the basic setup.
Avoid sudden bright lights near the feeding station. Use warm white tones at low to medium brightness. Pets, especially cats, are sensitive to harsh lighting. A gradual fade in over 30 seconds is gentler than an instant on switch.
Use consistent timing for your feeding and lighting schedules. Pets respond best to predictable patterns. If breakfast is at 7:00 AM and the light turns on at 6:55 AM, your pet will soon associate the light with food and approach the feeding area on their own.
Consider your pet’s nighttime habits. Cats are often active at night. A dim night light near the feeding station helps them find food and water without stumbling in the dark. Google Home supports automations that set hallway lights to 20% brightness when a camera detects a pet between 11:00 PM and 5:00 AM. This is a great way to support nighttime feeders.
Also monitor your pet’s response to new automations. If your dog seems startled by a light suddenly turning on, adjust the brightness lower or add a slow fade effect. The goal is to create a calming environment, not one that causes confusion or anxiety.
Advanced Integration Ideas for Pet Owners
Once you have the basics working, explore more creative automations. One popular setup is a feeding dashboard on a smart display like the Echo Show or Google Nest Hub. This dashboard shows the last feeding time, the food level in the bin, and the next scheduled feeding.
Another idea is to use color coded status lights throughout your home. Place a smart bulb in the living room that turns green after each feeding and red if a feeding is missed. Home Assistant users report using contact sensors on food containers that turn the room lights purple if the bin opens twice, indicating the pet was already fed.
You can pair feeding automations with pet cameras. Use an Aqara Camera Hub to detect when your pet approaches the feeder and dispense food in response. The camera also records the event so you can watch your pet eat from anywhere. Add a lighting trigger to this automation so the area is well lit for the camera footage.
For multi pet households, consider RFID enabled feeders like the SurePet Microchip Feeder. These feeders only open for the correct pet. You can pair each pet’s feeder with a different colored light so you know which pet is eating. Blue for the cat. Orange for the dog. This level of detail is achievable with Home Assistant and Zigbee devices.
Finally, build a “going out” routine that activates everything at once. One voice command or one tap in the app turns on the feeding schedule, activates the pet camera, sets the lights to automatic mode, and starts background music for your pet. SmartThings Pet Care already offers a version of this feature for Samsung device owners.
Frequently Asked Questions
Can I connect any smart pet feeder to any smart light?
Not directly. Both devices need to share a common platform or use a bridge service. If your feeder and lights both work with Google Home, Alexa, or Home Assistant, you can connect them through automations. If they use different ecosystems, services like IFTTT can link them. Always check device compatibility before purchasing.
What is the best smart home hub for pet automation?
Home Assistant is the most flexible option because it supports the widest range of devices and protocols, including Zigbee, Wi Fi, and Matter. For simpler setups, an Amazon Echo or Google Nest Hub works well. Samsung SmartThings is a good middle option that supports many device types with an easy to use app.
Do I need a motion sensor for this setup?
A motion sensor is not required but highly recommended. It adds an automatic trigger that turns on the feeding area light when your pet approaches. This reduces the need for time based automations and makes the system more responsive to your pet’s actual behavior.
Will smart automations work if my internet goes down?
Most cloud based automations will stop working during an internet outage. Feeder schedules stored locally on the device will still run, but lighting automations through Google Home or Alexa will not. Home Assistant with local Zigbee devices can continue to function without internet, making it the most reliable option for uninterrupted pet care.
How do I prevent double feeding with automation?
Use a contact sensor on the food bin or container. Set an automation that tracks whether the bin has been opened. If it has already been opened once, change a light to a specific color like purple to indicate the pet has been fed. Home Assistant and SmartThings both support this type of state tracking automation.
Is this setup safe for pets?
Yes. Smart lights use low voltage LED technology that stays cool to the touch. Automated feeders are tested for pet safety and dispense measured portions. The key is to use low brightness settings and warm color tones near feeding areas. Avoid placing smart plugs or cables where pets can chew on them, and always test new automations while you are home before relying on them remotely.