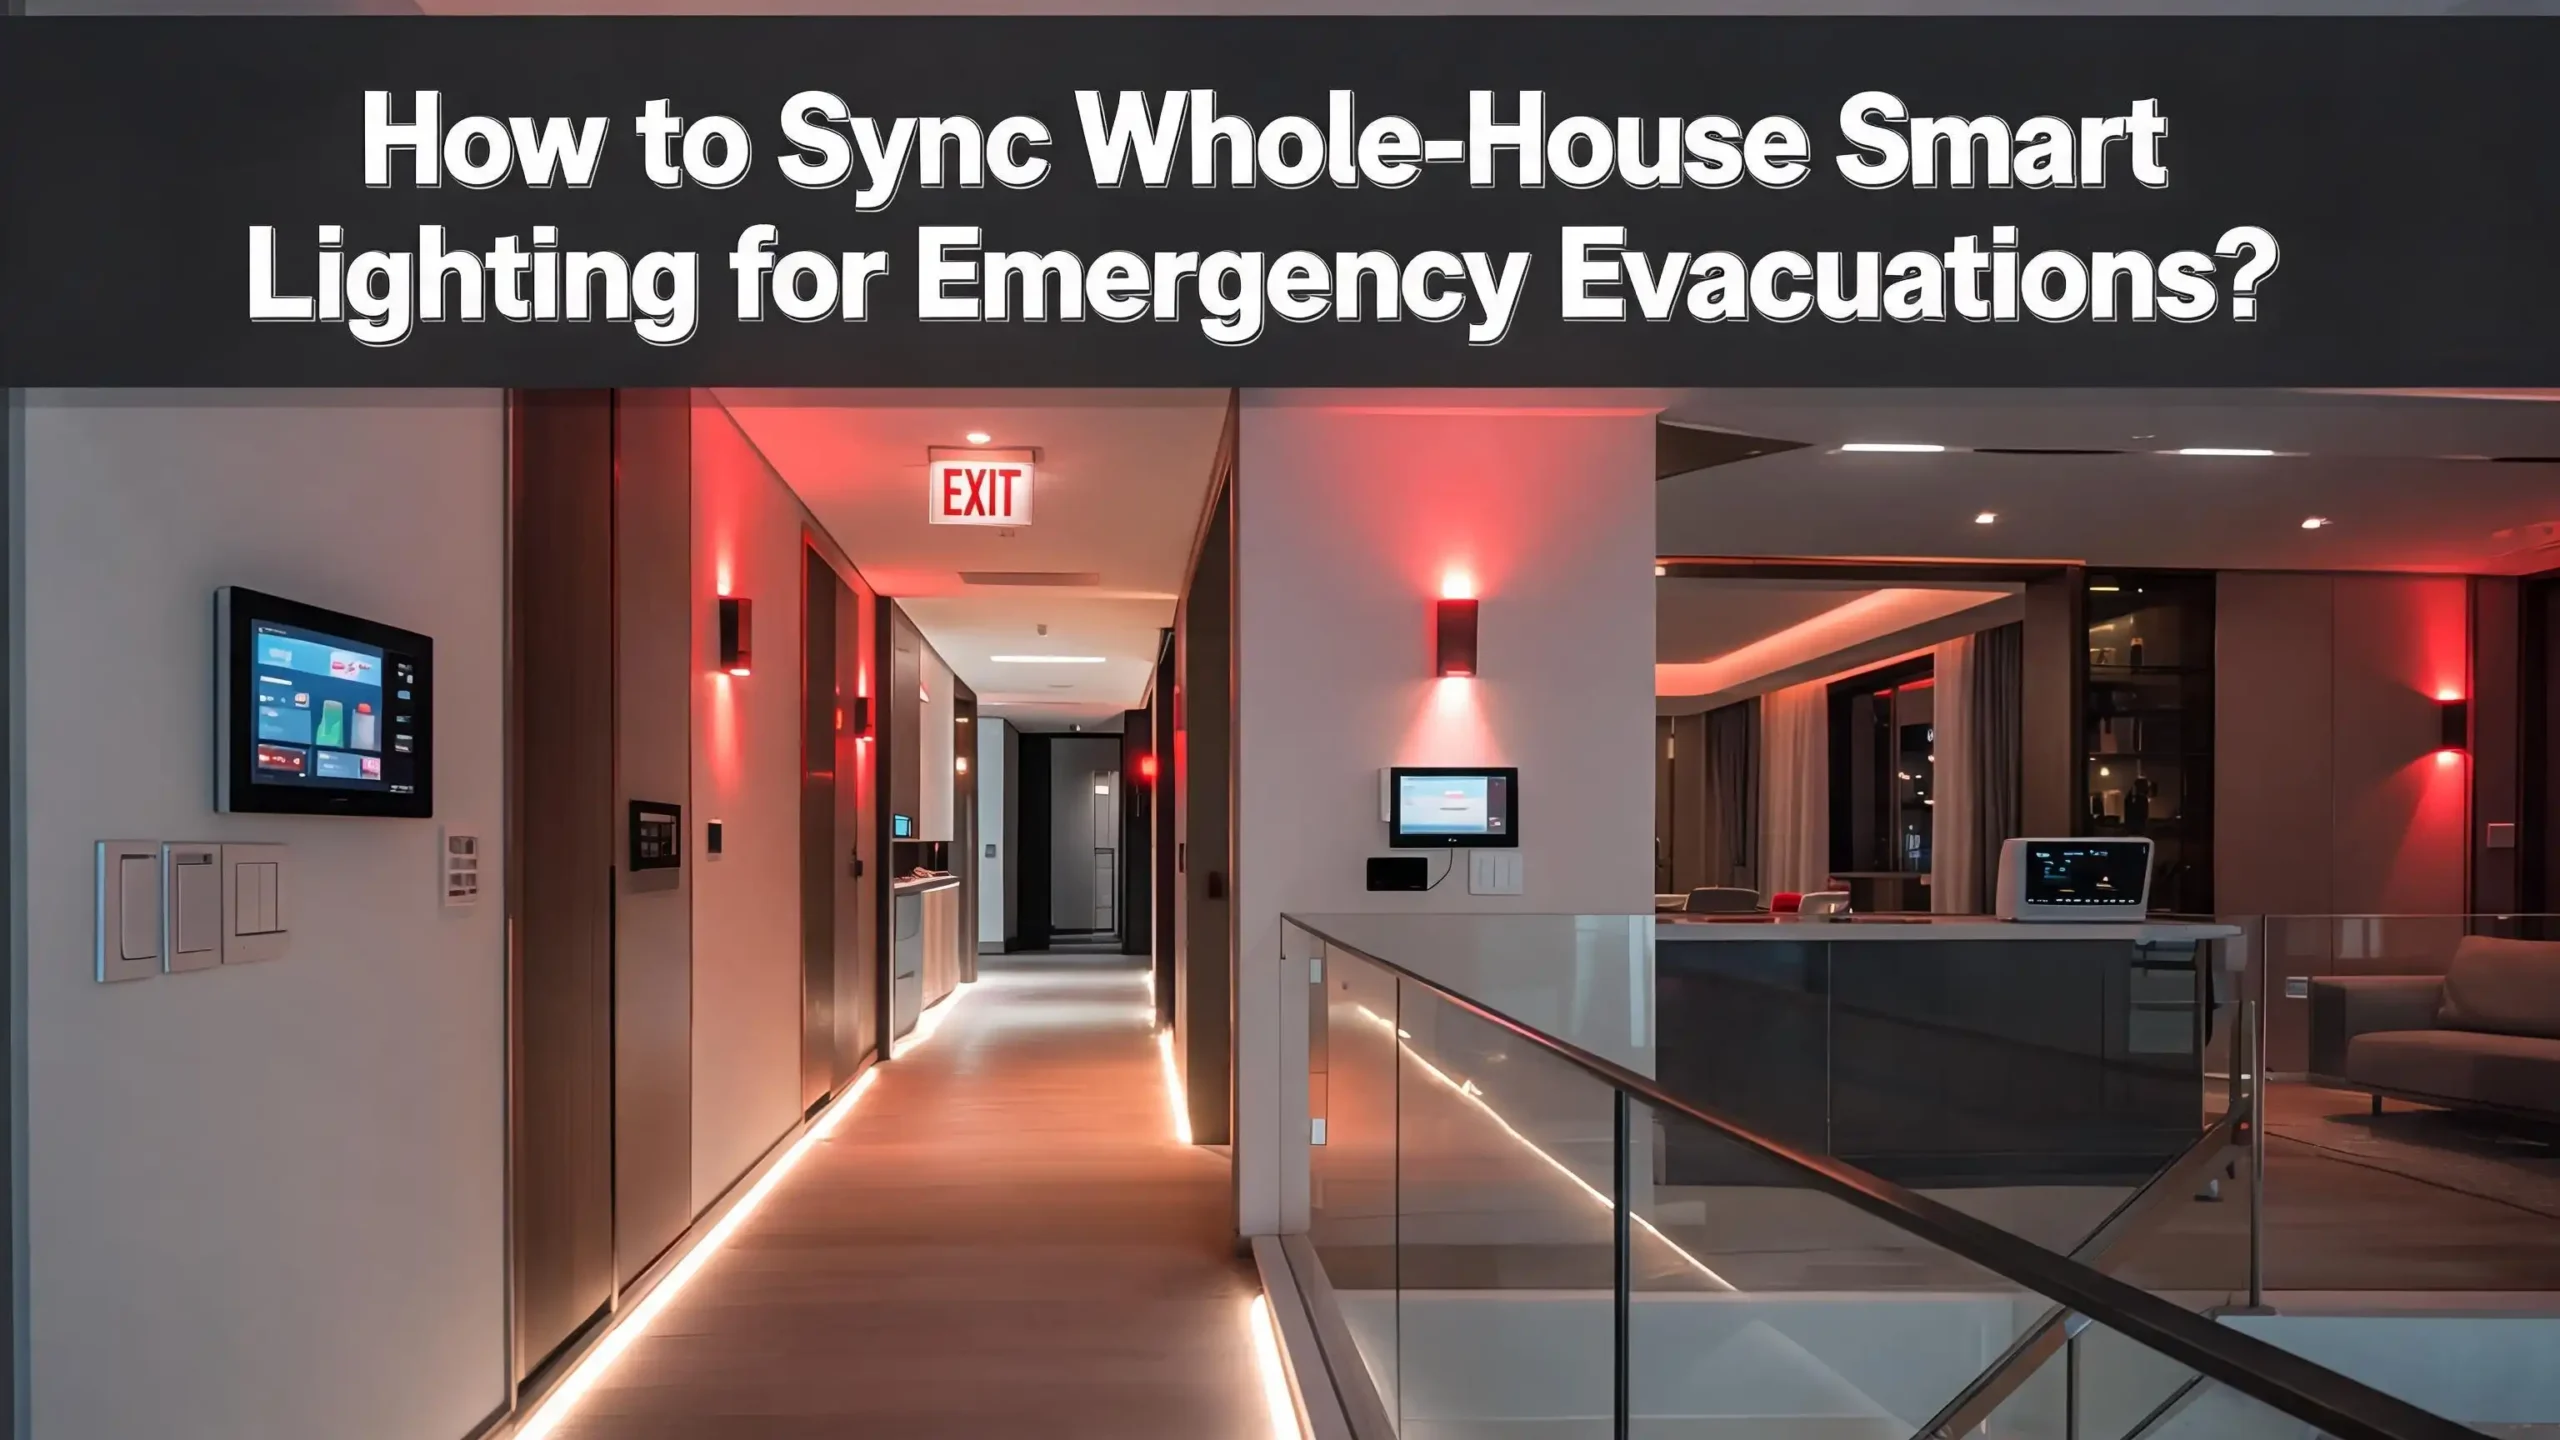
How to Sync Whole-House Smart Lighting for Emergency Evacuations?
When an emergency strikes at home, every second counts. Smoke fills the air. Power may cut out. Your family wakes up confused in the dark. In these moments, your smart lights can become lifesavers. They can flash, glow, and guide everyone to the nearest exit fast.
Most people use smart bulbs for mood and convenience. Few people use them for survival. That is a missed opportunity. Your existing smart lighting can double as a personal emergency guidance system. You just need to set it up the right way.
This guide shows you how to sync every light in your house for fast, safe evacuations. You will learn how to connect smoke detectors to lights, choose the best colors, add backup power, and build automations that work even when you panic. Let us turn your smart home into a true safety partner.
In a Nutshell
- Smoke and CO detectors should trigger your lights. Connect a smart smoke alarm to your hub. When it senses danger, every light turns on at full brightness in one instant.
- Color matters for visibility. Use bright white light to flood escape paths. Use flashing red or green to mark exits and grab attention through smoke and sleep.
- Backup power keeps the system alive. A power outage often comes with emergencies. Put your hub, router, and key lights on a UPS battery backup so they stay on.
- One trigger should control all lights. Build a single “Emergency Evacuation” scene. It activates the whole house at once instead of room by room.
- Test the system every month. An automation you never test is a system you cannot trust. Run drills so your family knows what the lights mean.
- Keep a manual override ready. Technology can fail. Pair smart lights with simple battery lanterns and clear exit plans as a backup layer.
Why Smart Lighting Matters During Emergencies
Emergencies create chaos. People freeze. They forget exits they use every day. Darkness makes everything worse. When smoke or fire breaks out at night, your family must move fast through a home they can barely see.
Smart lighting solves this problem with speed and clarity. A connected system can light up your whole house in under a second. It removes the need to fumble for switches. It removes the panic of searching for the way out.
Studies on building evacuations show that clear lighting raises walking speed and lowers confusion. People move faster toward well lit exits. They make fewer wrong turns. The same logic applies to your home.
Smart lights also send signals your brain understands fast. A sudden flash wakes deep sleepers. A bright path pulls eyes toward the door. These cues work even when alarms alone fail to wake someone.
Think about children, elderly family members, or guests who do not know your floor plan. They need extra help. Synced lighting gives everyone the same clear direction at the same time.
Your smart home already has the hardware. Bulbs, switches, sensors, and a hub sit ready in your house. You only need to teach them a new job. That job is keeping your family alive during the worst moments. This guide makes that setup simple and reliable.
Understanding How Synced Lighting Works
Synced lighting means all your lights respond together to one command. They act as a single team, not separate parts. This teamwork is the heart of any emergency lighting plan.
The system has three core layers. First, a trigger detects the emergency. This could be a smoke alarm, a CO sensor, a button, or a voice command. The trigger is the spark that starts everything.
Second, a hub or controller receives the signal. The hub is the brain of your smart home. It hears the trigger and decides what to do next. Popular hubs include Home Assistant, SmartThings, and Hubitat.
Third, the lights carry out the action. The hub sends one message to every bulb and switch at once. They all turn on, change color, or flash in sync. This happens in milliseconds.
The magic lives in something called a “scene” or “automation.” A scene stores a set of light states. An automation links a trigger to that scene. When the trigger fires, the automation runs the scene instantly.
For example, you build a scene called “Evacuate.” It sets every light to full white. Then you build an automation that says: if smoke is detected, run the Evacuate scene. That is the whole logic.
Wireless protocols connect these parts. Zigbee and Z-Wave are the most common. Z-Wave offers strong stability for safety devices. Zigbee offers speed and wide device choice. Many homes mix both for the best results.
Choosing the Right Smart Lighting System
Your hardware choices shape how well your emergency system works. Pick reliability over flashy features. A light that responds late is useless in a fire.
Start with a strong hub. A local hub like Home Assistant or Hubitat processes commands on your own network. It does not depend on the internet or cloud servers. This matters because emergencies often knock out internet service.
Cloud only systems can lag or fail when servers are busy. A local hub keeps your automations running even when your connection drops. Local control is the gold standard for safety setups.
Next, choose your bulbs and switches with care. Look for devices that respond fast and rarely drop offline. Read reviews that mention reliability, not just brightness or color range.
Smart switches often beat smart bulbs for emergencies. A switch controls the whole circuit. If someone flips the wall switch off, smart bulbs lose power and cannot respond. Smart switches keep the circuit live and stay in control.
Mix bulbs and switches based on each room. Use color bulbs in bedrooms and hallways where flashing alerts help. Use smart switches in stairwells and exits where you want steady, reliable light.
Pick devices that share the same protocol when possible. A unified Zigbee or Z-Wave network communicates faster and more cleanly. Mixing too many systems adds delay and failure points.
Finally, check that your chosen devices support local triggers. Some smoke detectors only work with their own apps. You want sensors that talk directly to your hub for instant action.
Mapping Your Home Evacuation Routes
Before you program a single light, you must plan your escape paths. Lights only help if they point toward real exits. Walk through your home and map every route on paper or your phone.
Mark at least two exits from every room. Fire safety experts always recommend a primary and a backup exit. Windows count as escape routes too, especially in bedrooms.
Now trace the path from each bedroom to the nearest outside door. Note every hallway, staircase, and corner along the way. These paths are the spots that need the brightest, clearest light.
Identify the most dangerous zones in your home. Stairs cause many evacuation injuries. Light your staircases the strongest of all. Dark corners and turns also need extra attention.
Mark the lights that sit along each route. These become your “path lights.” They must flood the way with bright white during an emergency. List them by name so you can group them later in your hub.
Next, pick your “exit marker” lights. These sit right at or near each door. They will flash a distinct color to pull people toward the exit. A light by the front door becomes a beacon.
Consider your outdoor lights too. Once people leave the house, they need to see the yard, steps, and a safe gathering spot. Bright outdoor lighting prevents falls and helps responders find your home.
Keep this map handy as you build your automations. It turns a vague idea into a clear plan. Every light now has a job and a location.
Connecting Smoke and Carbon Monoxide Detectors
Your smoke and carbon monoxide detectors are the most important triggers. They sense danger before you do. Linking them to your lights creates a true automatic response.
Choose smart detectors that integrate with your hub. Z-Wave and Zigbee smoke alarms can send their alerts straight to Home Assistant, SmartThings, or Hubitat. This direct link gives the fastest response.
Some older detectors lack smart features. You can still use them. Add a smart “listener” device that hears the alarm sound and sends a signal to your hub. This bridges the gap without replacing your alarms.
Once connected, the detector becomes an automation trigger. Set the rule like this: when smoke is detected, turn all lights on at full brightness and start the evacuation scene. The lights now react the instant the alarm sounds.
Do the same for carbon monoxide. CO is silent and invisible. A CO alert at night could save lives that a quiet alarm alone might not. Bright flashing lights add a visual warning to the sound.
Link multiple detectors so any one of them can trigger the system. A kitchen alarm and an upstairs alarm should both start the same whole house response. One sensor protects the entire home.
Test these connections carefully. Press the test button and watch your lights respond. If the lights do not react, fix the link before you rely on it. This single connection is the backbone of your safety system.
Add push notifications to your phone as well. Even when you are away, you learn about the emergency at once. You can then call for help or check on family fast.
Setting Up an Emergency Lighting Scene
A scene is a saved snapshot of how your lights should look. For emergencies, you want one powerful scene ready to fire. Building it correctly makes your whole system work.
Open your hub app and create a new scene. Name it something clear like “Emergency Evacuation.” A clear name prevents mistakes when you edit later.
Add every interior light to this scene. Set them all to full brightness and bright white color. White light gives the best visibility for moving through a home. You want the entire house flooded with light.
Now add your exit marker lights with a special setting. Set them to flash in a bright color like red or green. This contrast separates exit beacons from general path lights. People learn to follow the flashing toward the door.
Include your outdoor lights in the scene too. Set them to full white so the path outside stays clear. The journey is not over until everyone reaches the safe spot outside.
Make sure the scene overrides all other settings. If a sleep timer or dimmer is active, the emergency scene must cancel it. Safety always wins over comfort settings.
Test the scene by running it manually. Watch every light respond. Note any bulb that stays dim, fails to flash, or lags behind. Fix those problems right away.
Keep the scene simple. Do not add fancy effects that slow it down. Speed and clarity beat style every time. A plain, fast, bright scene saves more lives than a complex one.
Save the scene and lock it from accidental edits if your hub allows. This scene is now your one button lifeline.
Choosing the Best Colors and Brightness
Color and brightness shape how well people see and react. The wrong choices can confuse instead of guide. Smart science makes your lighting far more effective.
Bright white light wins for general visibility. It reveals furniture, stairs, and doorways clearly. Set your path lights to maximum brightness and a cool white tone. This floods the escape route and shows real obstacles.
For exit markers, use a strong contrasting color. Green and red both work well as beacons. Green stays visible in light haze and low light. Red gives sharp contrast and signals danger.
Flashing draws the eye faster than steady light. A flashing exit light pulls attention even from a distance. Set your door beacons to pulse so people instantly know where to go.
Flashing also wakes deep sleepers. A sudden bright flash can rouse someone that sound alone might not reach. This helps protect children and heavy sleepers during night emergencies.
Avoid dim or warm light during an emergency. Soft warm tones feel cozy but hide hazards. Save those settings for normal evenings, never for evacuations.
Think about smoke too. Thick smoke scatters light and lowers visibility fast. Bright lower lighting often helps more than ceiling lights alone. Light near the floor guides people who crawl below the smoke.
If you have light strips near the floor or on stairs, add them to the scene. Low path lighting mimics the strips used in aircraft aisles. It guides people staying low to breathe cleaner air.
Test your colors in real conditions. Turn off the lights at night and run the scene. See what your eyes actually notice first. Adjust until the exits clearly stand out.
Adding Backup Power for Reliability
Emergencies and power loss often happen together. A fire can trip your breakers. A storm can cut the grid. Your smart lights are useless if they have no power. Backup power closes this gap.
Start by protecting your hub and router. Put both on an uninterruptible power supply, also called a UPS. This battery keeps them running when the grid fails. Without the hub, no automation can run at all.
A small UPS made for routers and modems works well. It costs little and runs for hours on low power devices. This single step keeps your brain and network alive during a blackout.
Next, think about the lights themselves. Many smart bulbs go dark when power cuts. They cannot light a path if the circuit is dead. Plan around this limit.
Add battery powered emergency lights as a backup layer. These turn on automatically when power drops. Place them along your main escape routes and on stairs. They fill the gap your smart bulbs cannot cover.
You can also put a few key smart lights on UPS protected circuits. A light strip on the main hallway, powered by a UPS, keeps guiding people. Choose the most critical path for this protection.
Some homes use a whole house battery or generator. If you have one, your smart lighting gains full protection. Make sure your hub and lights are wired into the backup supply.
Test your backup system on purpose. Turn off the main power and watch what happens. Note which lights stay on and which go dark. Adjust your plan until every escape route stays lit.
Backup power turns a fragile system into a dependable one. It is the difference between lights that help and lights that quit when you need them most.
Building Multiple Trigger Methods
One trigger is good, but several triggers are far safer. If one method fails, another still works. Layering your triggers builds a system you can trust.
Your smoke and CO detectors are the primary triggers. They act automatically without any human help. This is your strongest and fastest layer.
Add a physical panic button as a second trigger. Mount it by your bed or near the main door. One press fires the entire evacuation scene. This helps during emergencies that no sensor detects, like an intruder or a medical event.
Voice control makes a powerful third trigger. Set a clear command like “Alexa, emergency.” When you say it, every light turns on and the evacuation scene runs. Your voice becomes a fast safety switch.
Your phone app gives you a fourth option. A widget or shortcut on your home screen can launch the scene with one tap. This helps when you are awake but cannot reach a wall button.
You can also link other sensors. A water leak sensor, a temperature spike, or a security alarm can each start the lights. Any real danger should be able to light the escape path.
Keep each trigger pointed at the same single scene. This consistency means the response is always identical. No matter how the alert starts, the lights behave the same way.
Label every trigger clearly for your whole family. Everyone should know the voice command and the button location. A trigger only helps if people remember it under stress.
Test each trigger separately every month. Confirm that all of them launch the same reliable response. Many paths to safety make your system far stronger.
Programming Whole House Automations
Now you connect your triggers to your scene with automations. Automations are the rules that make everything run on its own. This is where your plan becomes real.
Open your hub and create a new automation. Set the trigger first. Choose your smoke detector, panic button, or voice command as the starting event.
Next, set the action. Point it to your Emergency Evacuation scene. When the trigger fires, the hub runs the scene across the whole house at once.
Add helpful extra actions to the same automation. Unlock smart doors so escape is faster. Send phone notifications to every family member. Turn off the HVAC system to slow smoke spread.
Keep the automation logic simple and direct. Complex conditions can slow the response or cause errors. In an emergency, fewer steps mean fewer failures.
Make sure the automation runs locally on your hub. Local automations do not need the internet to work. This keeps your safety system alive even when your connection dies.
Set the automation to ignore “do not disturb” or night modes. Safety must override every other setting. The lights should blaze no matter the time or mode.
Build a second automation to reset everything afterward. Once the danger clears, you can return lights to normal with one command. This avoids leaving your house in alarm mode for hours.
Give each automation a clear name and description. Future you will thank present you when editing later. Clear labels prevent costly mistakes.
Save and enable every automation. Then test them one by one. An automation that exists but never fires is no help at all. Confirm each one runs the full response correctly.
Coordinating Indoor and Outdoor Lighting
A full evacuation does not end at the front door. People still need to cross the yard and reach safety. Outdoor lights complete the escape path.
Include all exterior lights in your emergency scene. Porch lights, pathway lights, and floodlights should all turn on at full brightness. This lights the route from door to street.
Bright outdoor light prevents falls on steps and uneven ground. Panicked people move fast and trip easily in the dark. Clear lighting keeps them on their feet.
Outdoor lights also help emergency responders. Firefighters and paramedics find a brightly lit home faster. Every second they save matters during a crisis.
Set up a lit gathering spot outside. Pick a safe place away from the house, like the end of the driveway. Add a light there so everyone knows where to meet. This confirms the whole family escaped.
Use motion lights as a backup outdoor layer. Solar powered motion lights need no wiring and work during outages. Place them along the path to your gathering spot.
Coordinate the timing so indoor and outdoor lights fire together. There should be no dark gap between leaving the house and reaching safety. The whole route stays lit from start to finish.
Consider a distinct outdoor signal too. A flashing porch light can flag your address for responders. This helps them spot your home among many others.
Test your outdoor lighting at night. Walk the full path from bedroom to gathering spot. Confirm there are no dark patches anywhere along the way.
Testing and Maintaining Your System
A safety system you never test is a system you cannot trust. Bugs hide until the worst moment. Regular testing keeps your setup ready and reliable.
Run a full test every month. Trigger the smoke detector with its test button. Watch every light respond the right way. Confirm the timing, color, and brightness all work.
Check for offline devices often. Smart bulbs and switches sometimes drop off the network. An offline light cannot light your escape path. Reconnect or replace any device that keeps failing.
Replace batteries on schedule. Smoke detectors, sensors, and battery lights all need fresh power. A dead battery silently breaks your safety chain. Mark battery checks on your calendar.
Update your hub and device firmware carefully. Updates fix bugs and improve speed. Test your automations again after every update. Sometimes an update changes how things behave.
Practice real evacuation drills with your family. Lights only help if people know what they mean. Teach everyone that flashing means exit and bright white means the path.
Time your drills to find weak spots. Can everyone reach the gathering spot quickly and safely? Adjust your lighting plan based on what you learn.
Keep written notes of your setup. List every scene, trigger, and automation. This record helps you fix problems and rebuild after changes.
Review your whole plan twice a year. Homes change as you add rooms, furniture, or family members. Update your lighting map to match your current home.
Treat maintenance as part of safety, not a chore. A tested system is a system that works when lives depend on it.
Common Mistakes to Avoid
Even good plans fail when small mistakes creep in. Knowing these traps helps you build a stronger system. Avoid these common errors from the start.
Do not rely only on cloud control. Cloud systems fail when the internet drops. Emergencies often cut your connection. Always use local control for your safety automations.
Do not forget backup power. A smart light with no power is just a dead bulb. Skipping a UPS leaves your whole system fragile during outages.
Avoid using only smart bulbs on wall switches. If someone flips the switch off, the bulbs lose power. Use smart switches or keep wall switches taped on for key lights.
Do not build only one trigger. A single point of failure is risky. Layer smoke detectors, buttons, and voice commands together. Many triggers make the system far safer.
Skip overly complex automations. Fancy logic slows the response and adds failure points. Keep emergency rules simple, fast, and direct.
Do not forget to test. An untested system gives false confidence. Run real drills so you know it truly works.
Avoid dim or warm light for emergencies. Cozy tones hide hazards. Always set escape lighting to bright white with flashing exit markers.
Do not ignore your family’s knowledge. Lights mean nothing if people do not understand the signals. Teach everyone the plan and practice it together.
Finally, do not treat smart lights as your only safety tool. Smoke alarms, escape ladders, and clear exit plans still matter. Smart lighting adds to these tools, it does not replace them. Layered safety always beats a single solution.
Frequently Asked Questions
Can smart lights work during a power outage?
Smart lights need power to work. Most bulbs go dark when the grid fails. You can keep key lights on with a UPS battery backup. Pair your smart system with battery powered emergency lights for full coverage during outages.
What color is best for emergency evacuation lighting?
Use bright white light to flood escape paths and reveal hazards. Use flashing red or green at exits as beacons. Green stays visible in haze, while red gives sharp contrast. Avoid warm or dim tones during an emergency.
Do I need a special hub for emergency lighting automations?
A local hub like Home Assistant or Hubitat works best. Local hubs run automations without the internet. This keeps your system working when your connection drops. Cloud only systems can fail at the worst moment.
How do I connect my smoke detector to my smart lights?
Choose a Z-Wave or Zigbee smart smoke detector. Link it to your hub as a trigger. Set an automation so smoke detection runs your evacuation scene. Older alarms can use a smart listener device that hears the sound.
How often should I test my emergency lighting system?
Test the full system once a month. Press your smoke detector test button and watch the lights respond. Check for offline devices and replace batteries on schedule. Run real family drills a few times a year.
Are smart switches better than smart bulbs for safety?
Smart switches often work better for emergencies. They control the whole circuit and stay reliable. If someone turns a wall switch off, smart bulbs lose power. Use switches for exits and stairs, and color bulbs for alert flashing.