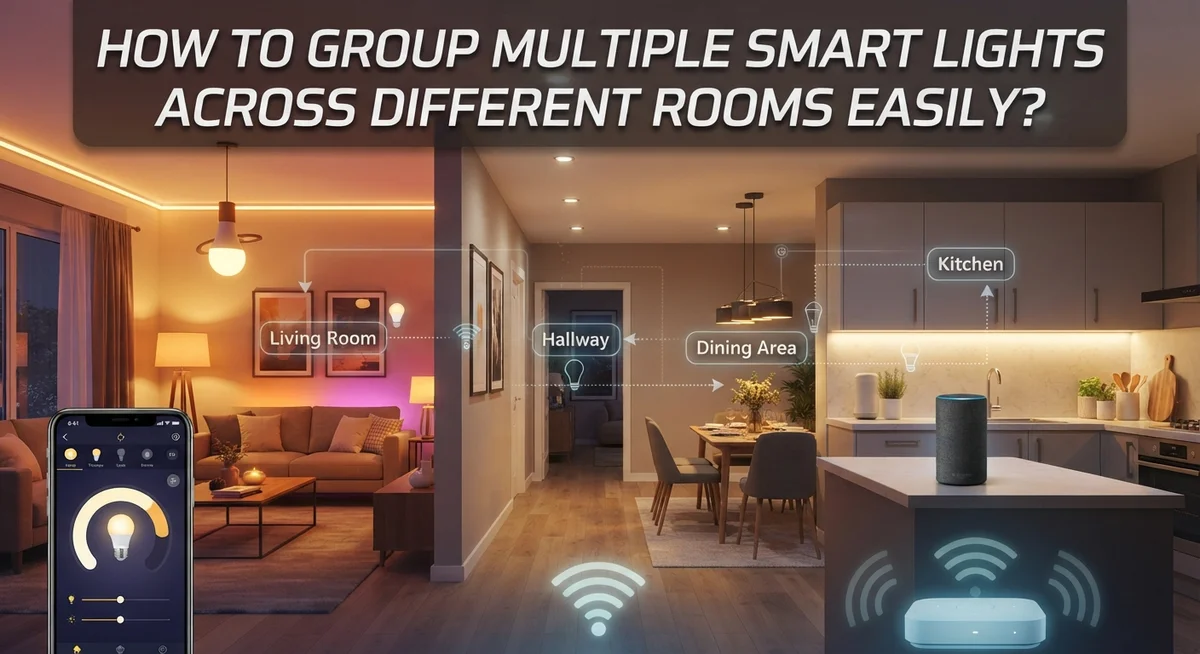
How to Group Multiple Smart Lights Across Different Rooms Easily?
Do you feel tired of turning on lights one by one in every room? Smart lights make life easy, but only if you control them the smart way.
Grouping your smart lights lets you manage many bulbs with a single tap or voice command. You can turn on your living room, kitchen, and bedroom lights together, no matter where they sit in your home.
This works across popular platforms like SmartLife, Google Home, Home Assistant, and Alexa. Each app makes grouping simple once you know where to look.
In this guide, we will show you exactly how to group multiple smart lights across different rooms. You will learn the core steps, from opening your device page to creating a group and adding your bulbs.
By the end, you will control every light in your home with one simple command. Let’s get your smart lights working together the easy way.
In a Nutshell
- Open your app and go to the device page. Look for the edit pencil icon in the top right corner.
- Tap “create group” and choose the lights you want to add. You can mix bulbs from different rooms in one group.
- Group by room or fixture. Some people prefer grouping by room location. Others group by fixture, like all bulbs in one lamp.
- Works across platforms. This method applies to SmartLife, Google Home, Home Assistant, and Alexa.
- Use voice commands once your group is ready. Just say the group name and your assistant will control every bulb at once.
- Avoid common mistakes. Always check bulb compatibility first. Confirm your group before you exit the app.
What Is Smart Light Grouping and Why It Matters
Smart light grouping means putting multiple bulbs together so you control them all at once. Instead of tapping each light individually, you send one command and every bulb in that group responds. This saves you time and makes your home feel more connected.
Why does grouping matter? Think about your bedroom. You might have a ceiling light, two bedside lamps, and a reading light. Without grouping, you need four taps to turn them all on. With grouping, one tap does everything. Your fingers thank you.
Grouping also works across different rooms. You can create a “Morning Routine” group that includes lights from your bedroom, bathroom, and kitchen. One voice command or tap starts your entire morning setup.
The real benefit comes from convenience and consistency. You control lights the way you actually use them. Groups match how you think about your space, not how the lights are physically wired.
Voice commands become super powerful with groups. Say “Alexa, turn on living room” and every light in that group activates instantly. No more shouting multiple commands.
Grouping works on all major platforms including SmartLife, Google Home, Home Assistant, and Alexa. Your setup doesn’t matter. The process stays simple and straightforward.
Groups also reduce decision fatigue. Your brain doesn’t need to remember which individual lights to control. You simply tell your system what you want, and the group handles the rest.
This feature transforms smart lights from individual gadgets into a unified system. Your home becomes more responsive to your needs. Lighting becomes automatic and intuitive instead of complicated.
Checking Compatibility Before You Start
Before you start grouping your smart lights, you need to make sure everything will work together. This step saves you from frustration later on.
First, check what type of smart bulbs you own. Different brands use different wireless standards. Some bulbs use Wi Fi, while others use Zigbee or Bluetooth. Your hub or app needs to support the same standard that your bulbs use.
Next, verify that all your bulbs connect to the same app or platform. If you have bulbs from multiple manufacturers, some apps let you control them all in one place. Others work only with their own brand. Check your app’s compatibility list before you buy new bulbs.
Look at your bulb model numbers and search the manufacturer’s website. They usually list which apps and platforms the bulbs support. This takes just a few minutes and prevents problems later.
Test one bulb in your app first. Make sure it connects smoothly and responds to commands. If one bulb has connection issues, grouping multiple bulbs won’t help.
Check your internet connection too. Smart light grouping requires a stable Wi Fi network. Weak signals cause delays and failed commands, even with compatible bulbs.
Finally, update your app to the latest version. Older app versions sometimes lack grouping features or have bugs that prevent groups from working properly.
Taking these steps upfront ensures smooth grouping. You avoid buying incompatible bulbs and wasting time on troubleshooting. A quick compatibility check now means reliable light control across your entire home.
Step-by-Step: Creating a Multi-Room Light Group
Start by opening your smart home app on your phone or tablet. Look for the “Devices” or “Home” section. You should see a list of all your connected smart lights displayed here.
Find the light you want to add to your group. Tap on it to open its details page. Look for a small pencil icon or “Edit” button. This is usually located in the top right corner of the screen.
Tap that edit icon. A menu will appear with several options. Look for “Create Group” or “Add to Group.” Click this option to begin the grouping process.
Now you’ll see a list of all available lights in your home. Check the boxes next to every light you want to include in your group. You can select lights from different rooms. The app doesn’t limit you to one room only.
Give your group a clear name. Use something simple like “Living Room Lights” or “Bedroom Lamps.” Avoid confusing names. Clear names make voice commands easier to remember and use.
Review your selections one more time before confirming. Make sure you selected the correct lights. Double check that no unwanted lights are included in the group.
Tap “Save” or “Confirm” to complete the group creation. Your app will process the request. This usually takes just a few seconds.
Test your new group immediately. Turn the group on and off using your app. Verify that all selected lights respond together. If any light doesn’t respond, remove it and check its connection to your network.
Your group is now ready to use. You can now control all these lights with a single tap or voice command.
Naming and Organizing Groups for Easy Control
Naming your smart light groups correctly makes control much simpler. A good name tells you exactly what lights you’re controlling without confusion.
Start with room based names. “Living Room” or “Bedroom” works perfectly for groups covering entire spaces. This approach matches how you think about your home. You say “turn off the bedroom lights” naturally, so your group name should reflect that language.
Consider fixture or function based names too. “Desk Lamp” or “Ceiling Fixtures” works when you group lights by their physical location or purpose. Some people prefer “Morning Routine” or “Movie Time” for groups tied to specific activities. These names remind you what the group does.
Keep names short and clear. Avoid special characters or numbers that confuse voice commands. “Lights 1” doesn’t work as well as “Kitchen Lights.” Your smart assistant understands simple, plain language better.
Organize groups logically in your app. Group all bedroom lights together in your device list. Put kitchen lights in their own section. This physical organization in your app mirrors your home’s layout. Finding groups becomes automatic when they follow your mental map.
Use consistent naming patterns across all groups. If you start with room names, stick with that system everywhere. Don’t mix “Living Room Lights” with just “Kitchen.” Consistency prevents mistakes during voice commands.
Test your group names with voice commands. Say the name out loud before finalizing it. Your smart assistant might struggle with unclear or awkward names. Simple, natural language works best for both app control and voice control.
Rename groups anytime your needs change. Your smart home should adapt to how you actually live.
Using Voice Commands with Grouped Lights
Voice commands make controlling grouped lights incredibly simple. Once you create a group, you can speak to your smart speaker and control all those lights at once without touching your phone.
Start by saying the group name clearly. For example, if you named your group “Living Room,” you would say “Alexa, turn on Living Room” or “Google, turn off Living Room.” Your voice assistant recognizes the group name and sends the command to every light in that group instantly.
You can do much more than just turn lights on and off. Try adjusting brightness with voice commands like “Dim the bedroom lights to 50 percent.” You can also change colors if your bulbs support that feature. Say “Make the kitchen lights blue” and watch them change.
Timing matters when using voice commands. Speak naturally and pause between words. Rushed speech sometimes confuses your assistant. If a command doesn’t work, try saying it differently. Your assistant learns your speech patterns over time.
Create separate groups for different moods or activities. A “Movie Night” group might include dimmed lights from multiple rooms. A “Morning Routine” group could turn on all bathroom and bedroom lights at full brightness. Then you simply say the group name to activate that entire scene.
Test your voice commands regularly. This helps you remember what works and what doesn’t. You’ll discover faster, easier ways to control your lights as you practice.
Make sure your smart speaker has microphone access and your groups are saved properly in your app. Voice control works best when everything syncs correctly between your app and your speaker device.
Common Mistakes to Avoid When Grouping Lights
When grouping smart lights, several mistakes can cause frustration. Skipping the verification step is the biggest error people make. Always check that your bulbs are compatible before grouping them together. Different brands or older models may not work well in the same group.
Another common mistake involves rushing through the setup process. Take your time locating the edit icon in your app. It’s usually in the top right corner of the device page. Missing this step means you won’t access the grouping option at all.
People often forget to confirm their group before closing the app. Your selections won’t save if you exit without tapping the confirmation button. Always double check that your group appears in your device list after creation.
Using unclear group names causes problems later. Names like “Group 1” or “Lights” create confusion when you have multiple groups. Instead, use specific names that clearly describe the lights you’ve grouped.
Another mistake is grouping lights that serve different purposes. Combining your bedroom lights with your bathroom lights makes less sense than keeping them separate. You’ll have better control when groups match specific rooms or functions.
Don’t forget to test your group immediately after creation. Try turning the lights on and off using your app. Confirm that all bulbs respond together. This catches any issues right away before you rely on the group for daily use.
Finally, avoid ignoring app updates. New versions often include grouping improvements and bug fixes. Keeping your app current prevents compatibility problems and ensures smoother group control across your home.
Troubleshooting Grouping and Sync Issues
When your grouped lights don’t respond together, the problem usually stems from a few specific issues. Connection problems happen most often when lights lose their link to your network or hub.
Check that all lights in your group have strong WiFi signals. Move closer to your router or add a WiFi extender if some lights sit far away. Restart your router completely by unplugging it for 30 seconds, then plug it back in.
Sometimes lights drop from a group without warning. This occurs when your app doesn’t sync properly with your smart home system. Force close your app completely and reopen it fresh. This simple step fixes most sync problems.
Incompatible bulb types cause sync issues too. Verify that all lights in your group use the same protocol or platform. Mixing different brands sometimes works, but older bulbs may struggle to keep pace with newer ones.
Check your app for pending updates. Outdated software prevents groups from functioning smoothly. Update your app and restart any smart speakers or hubs you use.
If one light refuses to sync with others, try removing it from the group entirely. Delete the light from your app, reconnect it fresh, then add it back to the group. This reset often solves stubborn sync problems.
Test each light individually first. Tap each bulb in your app and confirm it responds to commands. If a single light won’t respond, fix that light before troubleshooting the group.
Voice commands failing usually means your group name isn’t saved correctly in your smart speaker. Re-add the group name to your speaker’s settings and test again with clear, natural speech.
These practical steps resolve most grouping and sync issues quickly.
Managing and Editing Groups Over Time
Once you create your groups, you’ll need to manage and adjust them as your needs change. Smart light groups aren’t permanent fixtures. You can edit them anytime your living situation or preferences shift.
To modify an existing group, open your app and find the group you want to change. Look for the edit pencil icon, usually located at the top right corner of the group’s control panel. Tap it to enter editing mode. From here, you can add new lights to the group or remove ones that no longer fit your needs.
Renaming groups keeps everything organized as time passes. If you initially named a group “Bedroom Lights” but later moved some bulbs to your hallway, rename it to match its actual purpose. Clear names prevent confusion when you’re using voice commands or controlling lights quickly.
You may also want to reorganize groups based on seasonal changes or room renovations. Perhaps you added new lights to a room and want to include them in an existing group. Simply access the group, select edit, and add the new bulbs to your collection.
Regular reviews help maintain efficiency. Every few months, check which groups you actually use and which ones sit idle. Delete unused groups to keep your app interface clean and simple. This prevents accidentally controlling the wrong lights when giving commands.
Remember to test your changes immediately after editing. Turn the group on and off to confirm all lights respond together. If a light doesn’t react, remove it and readd it to refresh the connection. Small adjustments over time keep your smart lighting system working smoothly and matching your current lifestyle perfectly.
Final Thoughts
Grouping smart lights across different rooms makes your home easier to control. You save time and effort with single commands instead of managing each light alone.
The process stays simple once you know the steps. Access your device page, tap the edit pencil, and create a group. Add your lights and give the group a clear name.
Room based grouping works best for most homes. It matches how you naturally think about your space. You turn on the kitchen or dim the bedroom without extra steps.
Grouping by fixture also helps when multiple bulbs share one lamp. This keeps everything looking uniform and reduces confusion later.
Voice commands add real convenience to your smart home. Once your groups sync properly, you simply speak a name and control several lights instantly.
Remember that mistakes happen to everyone. Skipping confirmation steps or using confusing names creates problems down the road. Slow down and check your work.
Sync issues are common but usually easy to fix. Weak WiFi signals or incompatible bulbs cause most problems. A quick check often solves things fast.
Your smart lighting setup will change over time. New bulbs, room changes, or seasonal needs mean your groups need updates too. Stay flexible with your organization.
Regular maintenance keeps your system working smoothly. Test your groups often and rename them when needed. This small habit prevents bigger headaches later.
Smart light grouping is not complicated once you understand the basics. Anyone can set this up in minutes with the right app and a few clear steps.
Take your time during setup and confirm each group before moving on. Your effort now means smoother control every single day. Enjoy the convenience your grouped lights bring to daily life.
Frequently Asked Questions
Can I group lights from completely different rooms together?
Yes, you can absolutely group lights from different rooms. Your smart lighting app doesn’t care about physical location. You might group the bedroom light with the kitchen light if you want them to turn on together. This flexibility lets you create custom scenes that match your lifestyle, not just room layouts.
What happens if I add incompatible bulb types to one group?
Most modern smart light systems work together without issues. However, some older bulb models may not sync properly with newer ones. Before grouping, check that your bulbs use the same smart platform or app. Test a few bulbs together first to ensure they respond at the same speed and brightness level.
How do I control a group using voice commands?
Once your group is created and saved in your app, you can use voice commands immediately. Simply say “Alexa, turn on [group name]” or “Google, dim [group name].” Make sure your group name is simple and easy to pronounce. Your smart speaker needs to be connected to the same account as your lighting app.
Can I create a group with just two lights?
Yes, groups can be as small as two bulbs or as large as you need. Some people group two lights in one corner of a room for mood lighting. Others create groups with ten or more lights for whole house control. The minimum is typically two lights, but check your specific app’s requirements.
What if a light keeps dropping out of my group?
Connection problems usually cause lights to drop from groups. Check that the light has a strong WiFi signal near your router. Try removing the light from the group and adding it back. If the problem continues, restart the light by turning it off and on, then rejoin it to the group.