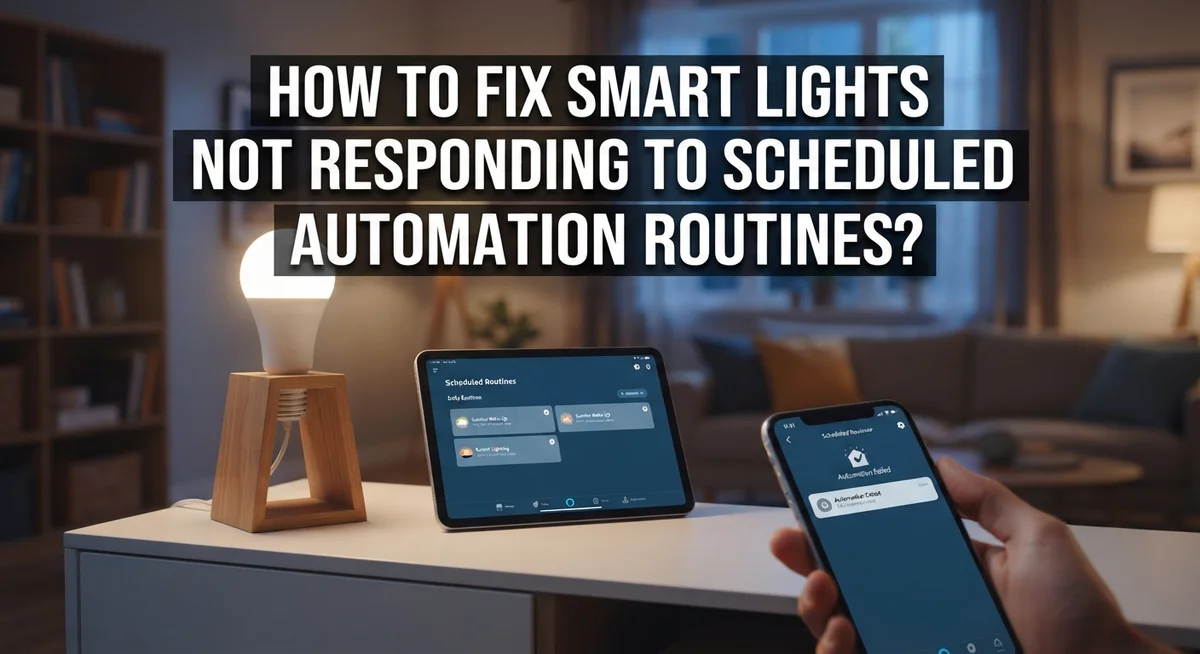
How to Fix Smart Lights Not Responding to Scheduled Automation Routines?
You set your smart lights to turn on at sunset. But they stay dark, and you are left standing in a dim room, tapping your app in frustration.
Smart light automation should make life easier. Instead, many users find schedules that silently fail, routines that stop working after an update, or triggers that never fire at all.
This problem is more common than you think. Sometimes the app fails to save your daily settings. Other times, a firmware update breaks a routine that worked fine yesterday.
The good news? Most of these issues have simple, fixable causes.
In this guide, we will walk through the exact reasons your smart lights ignore their schedules. You will learn how to check trigger status, confirm your timezone settings, and spot battery issues in wireless sensors.
By the end, you will know how to diagnose the problem and get your lights responding on schedule again, every single time.
In a Nutshell
Check your triggers first. Make sure motion sensors show live activity and battery levels are good. A dead battery often causes silent failures.
Verify your timezone and location settings. Wrong location data throws off sunset and sunrise triggers completely. This is a very common mistake.
Confirm your settings actually saved. Some apps show a saved schedule that never really stuck. Always double check after setup.
Restart your internet connection. Many automation issues clear up with a simple router restart. It’s often the easiest fix to try first.
Delete and recreate the automation step. Rebuilding from scratch fixes many stuck routines. This works better than editing an existing broken one.
Switch to per-device routines. Setting schedules on individual bulbs works better than global routines. This small change can prevent future glitches too.
Why Smart Lights Fail to Follow Scheduled Routines
Smart lights stop responding to schedules for specific, identifiable reasons. Understanding what causes these failures helps you fix them faster.
App saving problems are surprisingly common. Your automation looks saved in the app, but it never actually stored on the device. The app displays the schedule you entered, yet the light ignores it completely. This happens especially with daily scheduling features. The app interface shows everything correct, but the backend didn’t record your settings.
Timezone and location errors create another major issue. Your smart light system needs to know your exact location to calculate sunset and sunrise times. If your timezone is wrong or your location setting is off by even a few miles, trigger times shift dramatically. A light scheduled for sunset might activate hours early or late. This affects every sun-based automation you create.
Trigger activation failures stop motion-triggered routines dead. Your motion sensor might not be detecting movement properly. Battery levels could be too low for the sensor to function. The sensor might sit outside the wireless range of your hub. Without confirmed trigger activation, the automation never fires, no matter how well you configured it.
Platform updates break existing automations without warning. App updates sometimes change how the system handles saved routines. Automations that worked perfectly stop responding after you update. The app itself functions fine, but your old automation rules no longer execute.
Global routine limitations cause scheduling headaches too. Setting automations across all your lights at once creates conflicts and failures. Individual light bulbs respond better to per-device routines. What works when applied to one bulb might fail when applied to your entire system.
These failures aren’t random. Each one has a clear cause you can identify and fix. Start by checking which specific reason applies to your situation, then apply the matching solution.
Checking Trigger Status and Sensor Activity
Your motion sensors and automation triggers need active verification before you assume something is broken. Many people skip this step and waste hours troubleshooting the wrong things.
Start by checking if your motion sensor is actually detecting movement. Open your app and watch the sensor’s live activity feed. Wave your hand in front of it. You should see the sensor register the motion in real time. If nothing appears, your sensor isn’t communicating with your system at all. This is your real problem, not your automation rules.
Battery levels matter more than you think. Wireless sensors run on batteries that drain over time. A dying battery sends weak signals that your hub may ignore completely. Check the battery status for every sensor tied to your automation. Replace batteries that show low charge. This single step fixes many “broken” routines.
Next, verify that your trigger is actually set to fire. Open your automation rule and confirm the trigger condition matches what you want. If you set motion as a trigger, make sure motion is selected. If you set a time trigger, confirm the exact time is correct. Sometimes these settings shift during app updates without you noticing.
Test your trigger manually. Create a simple test automation that sends you a notification when the trigger fires. Don’t connect it to your lights yet. Just watch to see if the trigger activates as expected. This tells you whether your trigger works before you blame your lights.
Check your hub’s connection status too. Your automation triggers live on your hub, not in the cloud. If your hub loses internet connection or power, triggers stop firing entirely. Verify your hub shows as online and connected in your app settings.
Once you confirm triggers are firing correctly, you know the problem lies elsewhere in your automation chain. This saves you from recreating rules that actually work fine.
Verifying Timezone, Location, and Sunset/Sunrise Settings
Your smart lights ignore schedules when timezone and location data doesn’t match reality. This is one of the most overlooked causes of automation failure, and fixing it takes just minutes.
Start by opening your app’s settings menu. Look for location services or device location settings. Your app needs to know exactly where your lights live. If you moved homes or entered a wrong address during setup, your sunset and sunrise triggers will fire at completely wrong times. A light scheduled to turn on at sunset won’t activate if your app thinks you’re in a different timezone three states away.
Check your timezone setting next. Many people assume their phone’s timezone automatically syncs to their smart home app, but it often doesn’t. Open your device settings separately. Compare the timezone shown in your phone’s clock against the timezone listed in your smart home app. They must match perfectly. Even being off by one hour causes schedules to miss their intended times by 60 minutes every single day.
Location accuracy matters most for sunrise and sunset automations. These triggers depend on your exact geographic coordinates to calculate when the sun rises and sets at your location. Incorrect coordinates throw off these calculations dramatically. If your app thinks you’re 50 miles away from your actual home, sunset times could be wrong by 15 to 20 minutes.
After updating both settings, save your changes. Don’t skip this step. Then delete any existing automations that use sunset or sunrise triggers. Recreate them fresh so your app recalculates trigger times using your corrected location and timezone data. Test one automation by waiting for its scheduled time or manually triggering the condition to confirm it fires correctly now.
Step-by-Step Guide to Rebuilding a Broken Automation
When your automation breaks, rebuilding it from scratch often works better than trying to fix the original. This approach removes hidden glitches that persist in corrupted automation rules.
Start by opening your app and locating the broken automation. Write down every single setting you see: the trigger type, the time, the lights involved, and any conditions. This list becomes your blueprint for the new automation.
Delete the entire automation rule. Don’t just disable it. Remove it completely from your system. This clears any corrupted data stuck in your app’s memory.
Wait about 30 seconds. This pause lets your app sync with your hub and remove the automation from all connected devices.
Now create the automation again from the beginning. Enter each setting slowly and deliberately. Don’t rush through the configuration. After each major step, tap save to confirm the app actually records your changes.
Pay special attention to these critical points: Make sure your trigger is set correctly. Verify that your time or condition matches what you intended. Check that all lights you want to control are included in the automation.
Test the automation before you finish. If your automation has a manual trigger option, use it now. Watch whether your lights respond. If they don’t respond during testing, something is still wrong with your settings.
If testing works, let the automation run for a full day. Monitor whether it fires at the scheduled time. Sometimes automations work during testing but fail during actual operation.
If rebuilding from scratch doesn’t solve your problem, try setting up the automation on individual light bulbs instead of creating a global routine. Per device automations often succeed where system wide routines fail. This method takes longer but produces more reliable results.
Fixing Schedules That Won’t Save Properly
Your smart light schedules fail to save for several specific reasons. The most common culprit is that your app doesn’t actually register the save action, even though you see a confirmation screen. This happens because the app loses connection to your hub mid save or encounters a backend sync error.
Start by checking if your settings actually saved. Open the automation again after creating it. If your schedule disappeared, the save failed. Close the app completely and reopen it. Try saving the schedule one more time. If this pattern repeats, your hub may have lost internet connection temporarily.
Restart your internet router and wait two minutes. Then attempt to save the schedule again. Many users report this single step fixes persistent save failures immediately.
Your timezone and location settings also block schedules from saving properly. If your app thinks you live in a different timezone than you actually do, sunset and sunrise automations won’t save. Open your app settings and verify your location and timezone match your actual address. Even being off by one hour causes save failures.
Delete and recreate the automation step by step. This forces your app to revalidate every setting before saving. Don’t copy old automations. Build new ones from scratch instead. Pay attention to each field as you fill it out.
If schedules still won’t save, try setting up the automation on individual light bulbs instead of creating a global routine. Many users find per device automations save successfully when global ones fail repeatedly.
Wait for app updates too. Platform wide issues sometimes prevent schedule saves across all users until the developer releases a fix. Check your app store for pending updates before spending more time troubleshooting.
Troubleshooting Automations That Stopped Working After an Update
After an app update, your smart light automations might stop working even though your settings look correct. This happens because updates sometimes change how the app stores automation data or communicates with your lights.
The first step is to check if your app needs another update. Open your app store and search for updates. Sometimes a second update fixes problems the first one created. Wait for the installation to finish and restart your app completely.
Next, restart your internet router. Unplug it for 30 seconds, then plug it back in. Wait two minutes for it to fully restart. This clears connection problems between your app, your router, and your smart lights. Many automation failures happen because this connection breaks after an update.
Check your hub or bridge connection status. Open your app’s main menu and look for device or hub settings. Make sure your hub shows as “connected” or “online.” If it shows offline, restart the hub by unplugging it for 30 seconds. Your lights cannot follow automations if the hub loses connection.
Verify that your app actually saved your automation settings. Open the automation you created and review every detail. Sometimes updates prevent settings from saving properly even though the app shows no error message. If something looks wrong, delete that automation step and recreate it.
Test your automation manually if possible. Most smart light apps let you trigger an automation by tapping a button. Use this feature to confirm your lights respond. If they do, your automation works but might need time to sync across all devices.
If nothing works after these steps, uninstall your app completely and reinstall it fresh. This removes corrupted files the update might have created. Your automations should return to normal once the app reinstalls.
Common Mistakes That Cause Automation Failures
People often make simple mistakes that break their smart light automations. Understanding these errors helps you fix problems faster.
Incorrect timezone and location settings cause most scheduling failures. Your app needs to know your exact location to calculate sunset times and daily schedules correctly. If your timezone is wrong, your lights turn on and off at unexpected times. Open your app settings and verify your location matches where you actually live. Even being one timezone off ruins all time based automations.
Assuming your settings saved when they didn’t happens more often than you think. You create an automation, tap save, and move on. But the app sometimes fails silently without showing an error message. Always open the automation again immediately after creating it. Check that every field still contains your settings. If anything disappeared, your settings didn’t save properly.
Using global routines instead of per device setup creates conflicts. When you create one automation for all your lights together, the app sometimes struggles to apply it correctly. Individual light automations work more reliably. Set up separate automations for each light bulb instead of grouping them.
Not verifying your trigger actually works wastes troubleshooting time. Before blaming your automation, test the trigger manually. If you set a motion sensor trigger, walk in front of the sensor and watch your app. Does it show the motion event? If your trigger never fires, your automation can’t work.
Forgetting to check battery levels in wireless sensors stops automations silently. A dead sensor sends no signals, so your automation never activates. Check every wireless device’s battery status in your app before troubleshooting further.
These mistakes are easy to fix once you know what to look for. Start with these common errors before trying complex solutions.
Final Thoughts
Smart light automations can feel frustrating when they stop working. But most problems have simple fixes.
Start with the basics every time. Check your triggers first. Confirm your settings saved properly.
Your timezone and location settings matter more than most people realize. Wrong settings here cause many scheduling failures. Double check these before you troubleshoot anything else.
Battery levels deserve regular attention too. A dead battery in a motion sensor stops your automation silently. You won’t get an error message. Your lights just won’t respond.
Set up automations on individual bulbs when global routines cause problems. This approach often solves conflicts that global routines create. It gives you more control over each device.
App updates sometimes break automations that worked fine before. When this happens, patience helps. Wait for the next update if nothing else works.
Testing manually saves you time. Trigger your automation by hand before assuming something is broken. This simple step tells you if the problem is your trigger or your schedule.
Rebuilding an automation from scratch fixes many stubborn issues. Delete the broken automation. Create it again step by step. This process forces your app to save every setting correctly.
Smart home technology works well most of the time. But small glitches happen. Your job is to catch them early.
Keep your app updated. Check your internet connection regularly. Verify your settings saved after every change you make.
These habits prevent most automation failures before they start. When problems do happen, you now know exactly where to look.
Smart lights should make your life easier, not harder. With these fixes, your automations will run smoothly again. Your scheduled routines will trigger exactly when you expect them to.
Frequently Asked Questions
Why does my daily scheduling refuse to save in the app?
Your app might not be saving settings due to a glitch or incomplete configuration. Open your automation settings and verify each step actually saved before closing the menu. Sometimes the app shows your settings but doesn’t store them in the background.
Check your internet connection first. A weak signal interrupts the save process. Restart your router and try saving again. If the problem continues, delete the automation completely and rebuild it from scratch. This forces the app to process each step carefully.
Can motion sensors trigger lights if they have low batteries?
Motion sensors stop sending signals when batteries run low. Your lights won’t respond to motion because the sensor never activates. Check the battery level in your app’s sensor settings right now.
Replace batteries in all wireless sensors as part of regular maintenance. Set a calendar reminder to check batteries every three months. This prevents automations from failing silently when you need them most.
Should I create automations globally or on individual bulbs?
Individual bulb automations work more reliably than global routines. Global routines sometimes create conflicts or fail to trigger properly. If your global automations keep failing, set them up on each light separately instead.
This takes more time initially but prevents frustrating errors. Test each automation after setup to confirm it works.
What happens if my timezone settings are wrong?
Incorrect timezone settings break all time based automations. Your lights trigger at the wrong time or don’t trigger at all. Open your app’s location settings and verify your timezone matches your actual location.
Sunset and sunrise automations depend on accurate location data. Double check these settings whenever you move or travel.